
A sample presentation box doesn’t prove itself when it’s empty. It proves itself once the real samples are in. Do they sit tight? Do they come out easily? Does the lid stay shut when your sales rep picks the box up?
Most of those problems can be avoided before you order. Give accurate sample sizes and thicknesses, use EVA instead of pearl foam, have the slots die-cut, and don’t make the box bigger than it needs to be. Here’s what each of those looks like in practice.
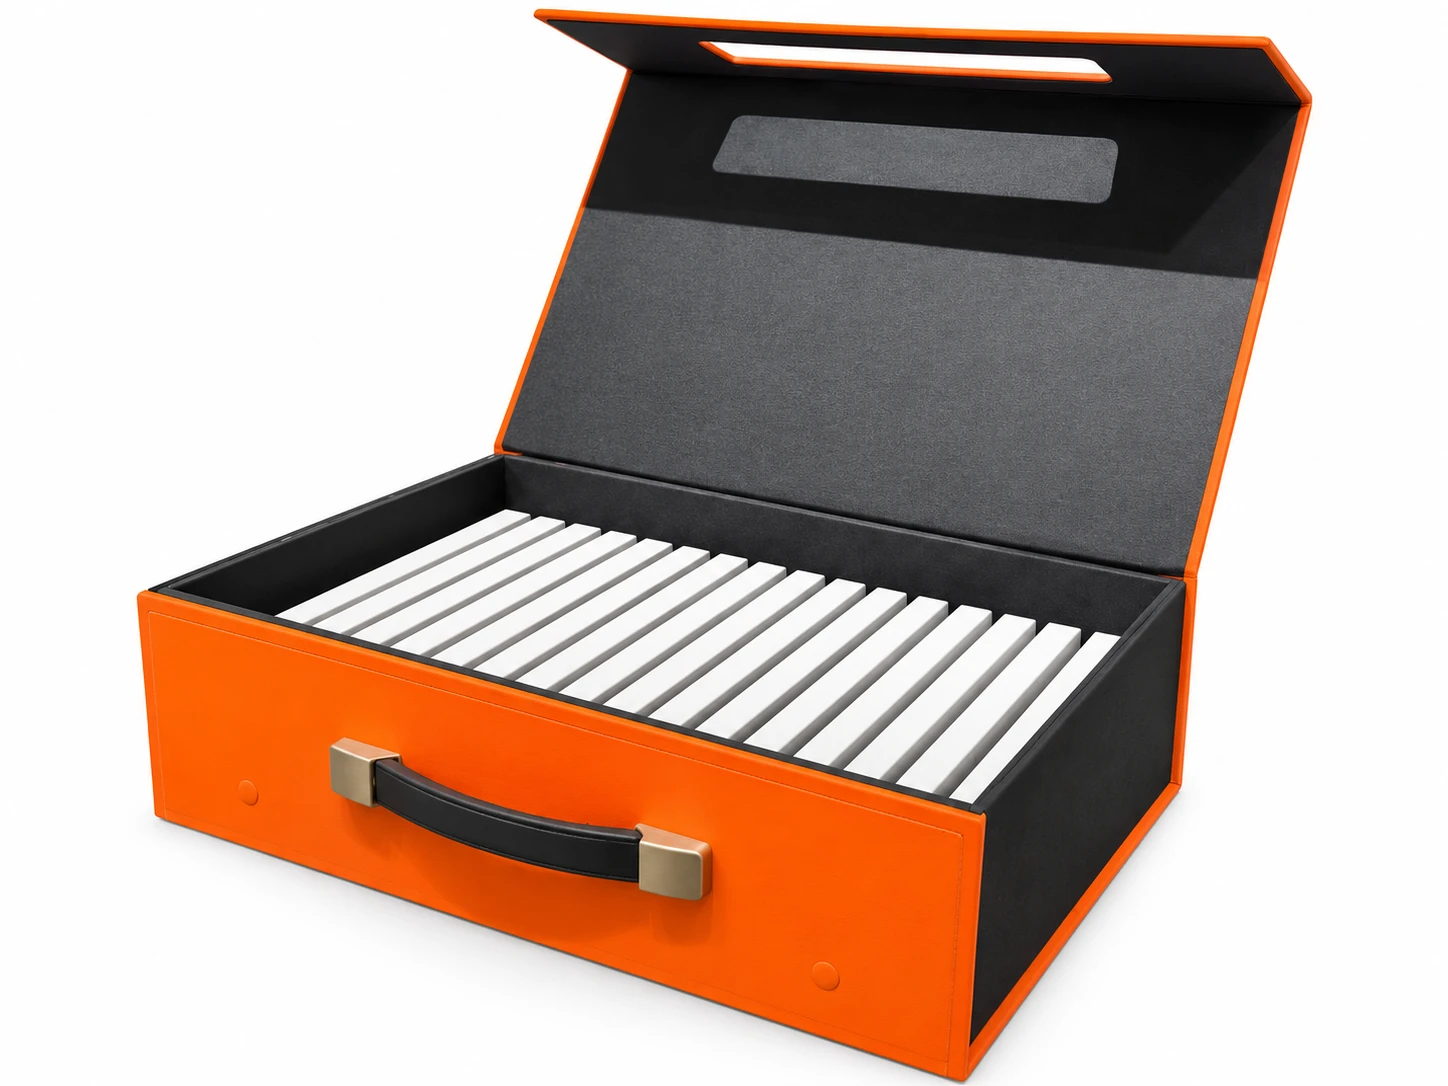
How are custom sample presentation boxes usually made?
A quick overview first. Ask any factory and you’ll hear roughly the same thing.
There are two common formats. A book-style box has the cover and base joined, so the whole set opens like a book. A fold-open box has connected panels that open one after another to show samples and printed information.
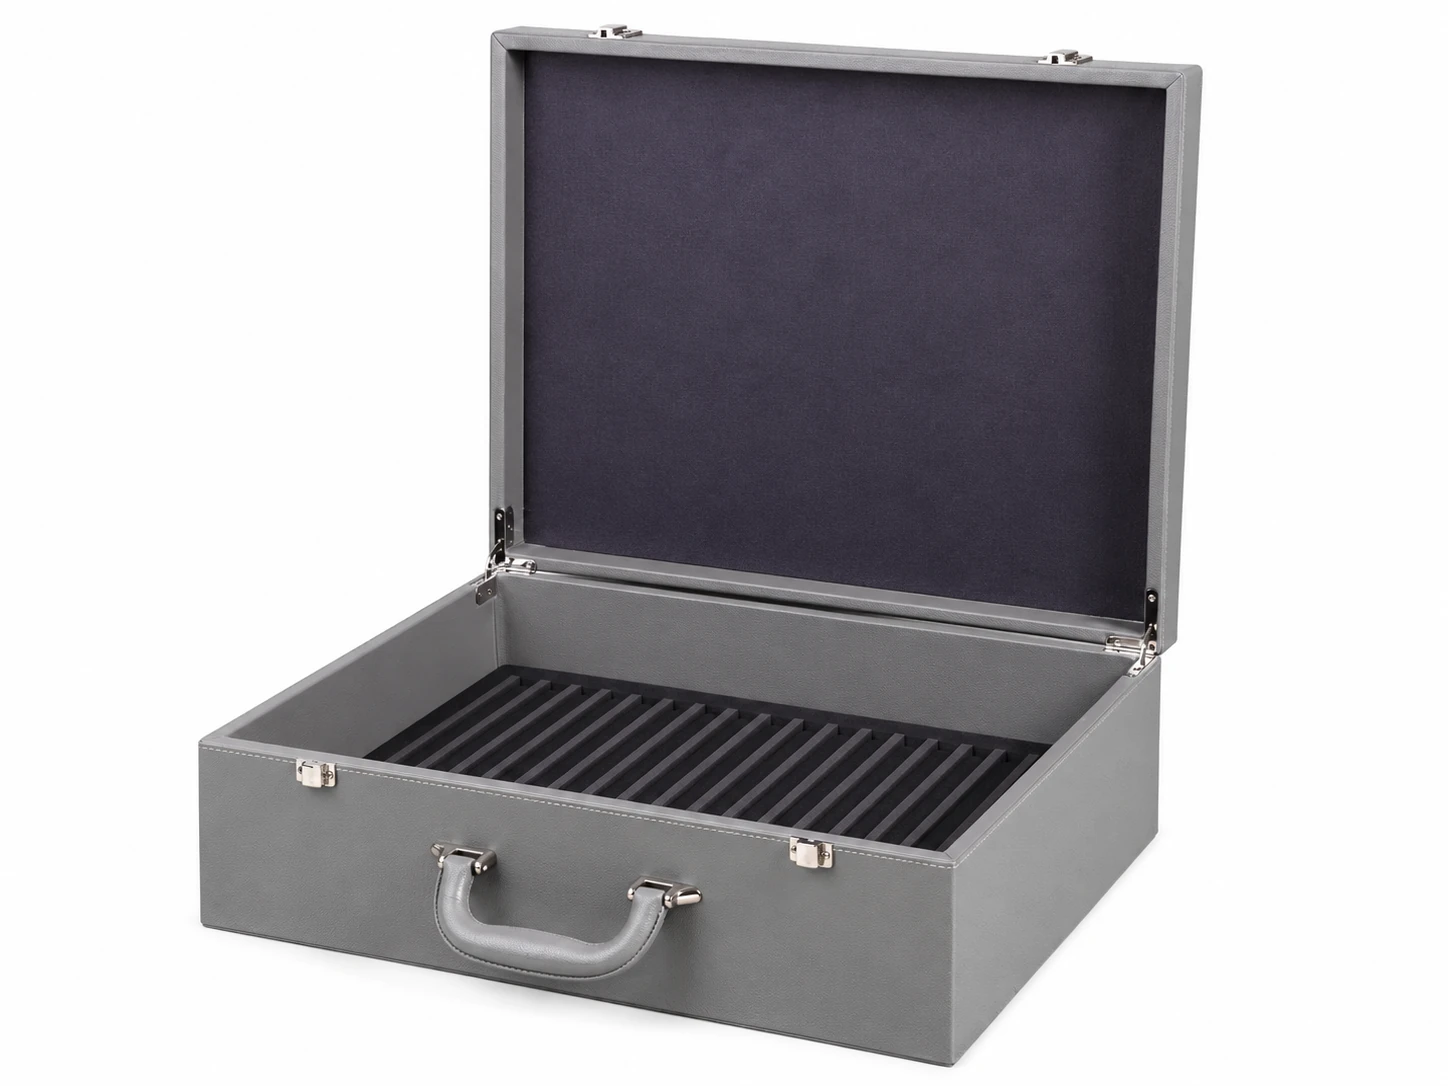
Inside, an insert holds each sample in place: EVA, foam, partitions, or layered and removable trays. Outside, the box can be covered in printed paper with lamination, bookbinding paper, cloth or leather, then finished with foil, embossing, debossing or spot UV. Closures include magnets, ribbons and buckles, plus a handle if the box will be carried.
One thing to keep in mind: most sample box photos you see online are past custom projects, not stock products. How many samples go in, how big the box is and how it opens all depend on your samples. You can see the structures and materials we’ve worked with on our sample presentation boxes page.
That part is standard. The rest of this article covers what rarely gets explained.
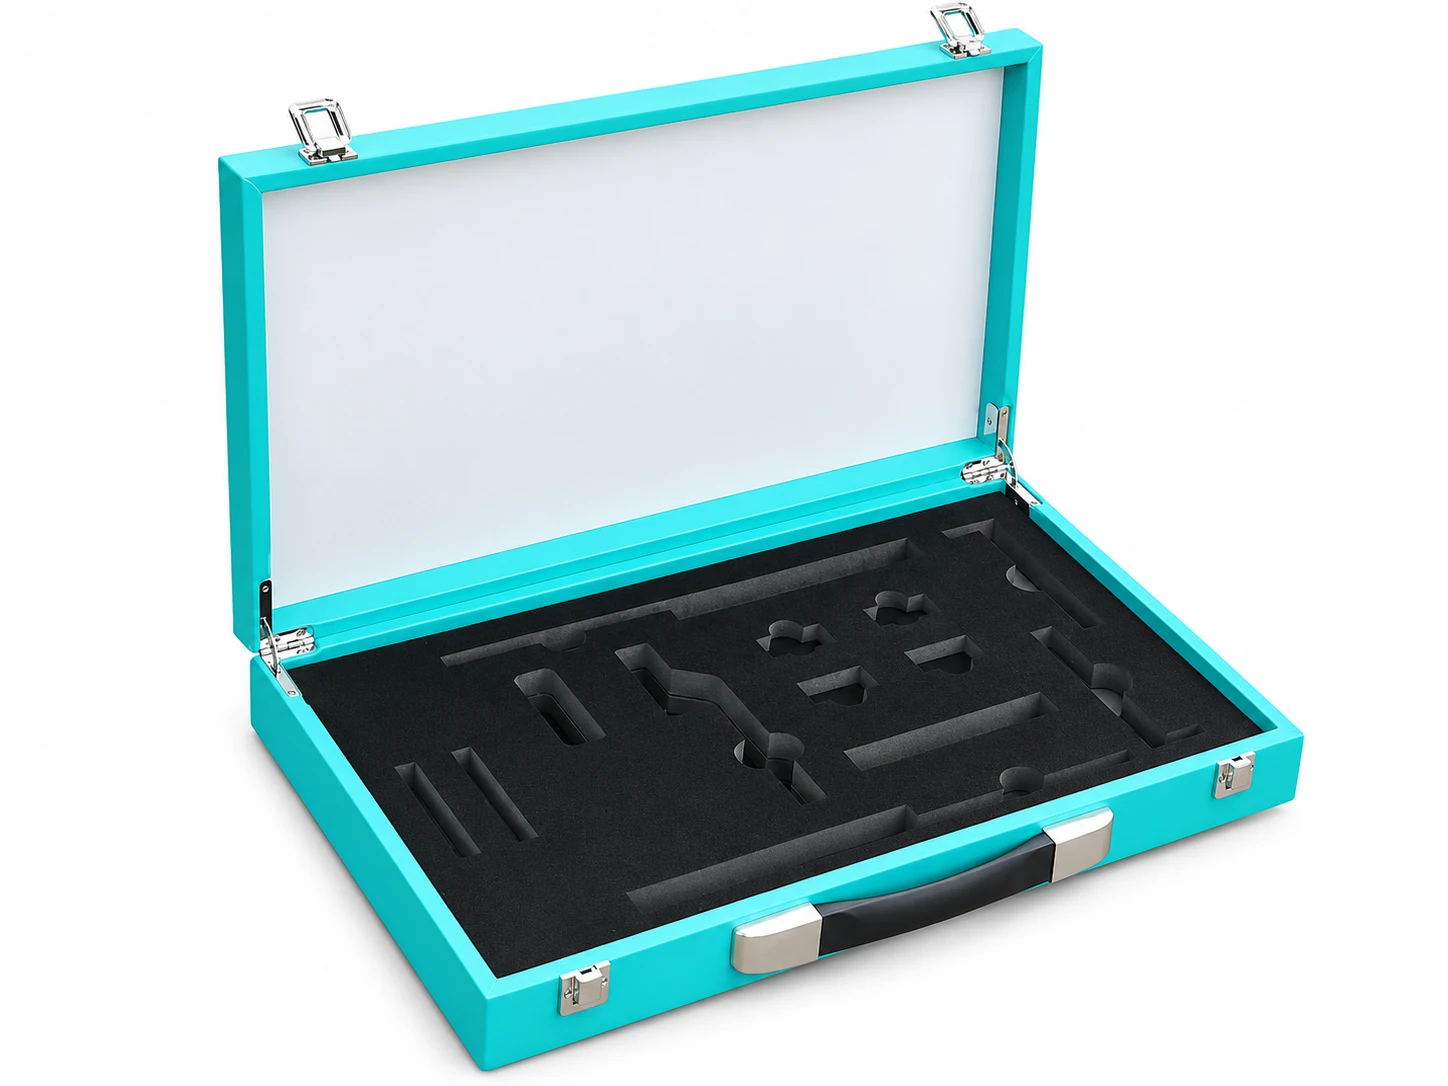
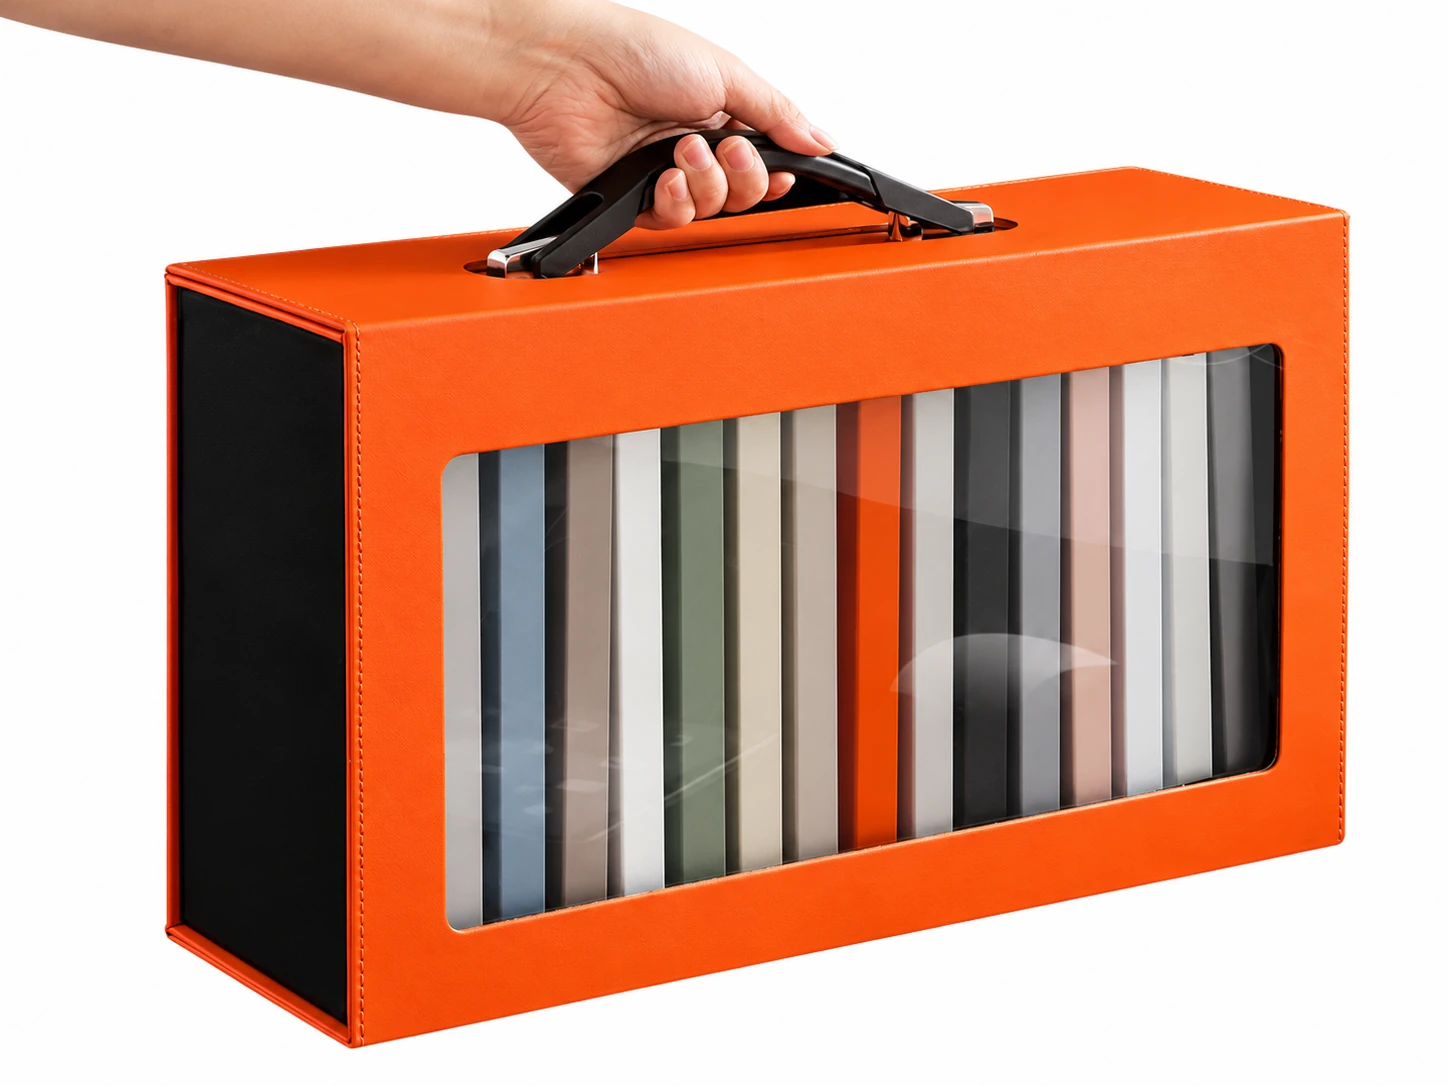
Should sample presentation box inserts be EVA or foam?
For flat material samples like boards and tiles, we recommend EVA.
Many quotes just say "foam insert," but foam covers a lot of materials. The most common and cheapest is pearl foam (EPE): white, very light and slightly crumbly. It works fine in gift boxes. A bottle of wine or a craft piece sits fully inside a thick block of it, held on every side.
Sample boxes are different. Most of each sample sits above the insert where your client can see it, and only the bottom edge goes into the slot. That short edge has to keep the sample standing, so the insert has to grip it. Pearl foam has little spring and isn’t firm enough, so the slots loosen after a few uses. In our view, it’s also more likely to leave marks on glossy or lacquered samples.
The EVA we use is around 38 Shore C, a hardness scale where a higher number means harder. In plain terms, it springs back when you press it but stays firm overall. We make it at least 1 cm thick, so samples sit deep enough to stay upright.
Some suppliers say board inserts work as well as foam for most uses and cost less. We rarely use them. Paper has no give, and once samples have gone in and out a few times, the slots go slack.
How should the slots be cut so samples don’t rattle?
Make each slot as wide as the sample is thick, and 0.5 mm longer than the sample at each end.
Why no extra width? When EVA is die-cut, the cut edges close up slightly. A slot the same width as the sample grips it snugly. With at least 1 cm of depth, the box stays quiet when it’s carried.
Why extra length? If the slot is the same length as the sample, or a little shorter, you have to force the sample in and tug to get it out. Leaving 0.5 mm at each end makes both easy.
Here’s a hypothetical example. Say you have a quartz sample that’s 100 × 150 mm and 10 mm thick, and it goes in short edge down. The slot would be 10 mm wide and 101 mm long.
Should the slots be die-cut or laser-cut? Both have their place, depending on what goes in.
For a bottle of wine or a piece of artwork that goes in and comes out whole, a slightly larger cavity is fine. What matters is that there’s no resistance. Laser cutting works well there and saves the cost of a cutting die.
Sample boxes are different. Each sample stands because the slot holds it, and sales reps take samples out and put them back all day. If the slot width is off even slightly, the sample is loose or won’t go in. So we recommend a cutting die. It’s more accurate and cuts tighter. It adds a die cost upfront, but it saves a lot of trouble later.
Why does a sample box pop open when you pick it up?
Usually it isn’t a weak magnet. It’s the construction.
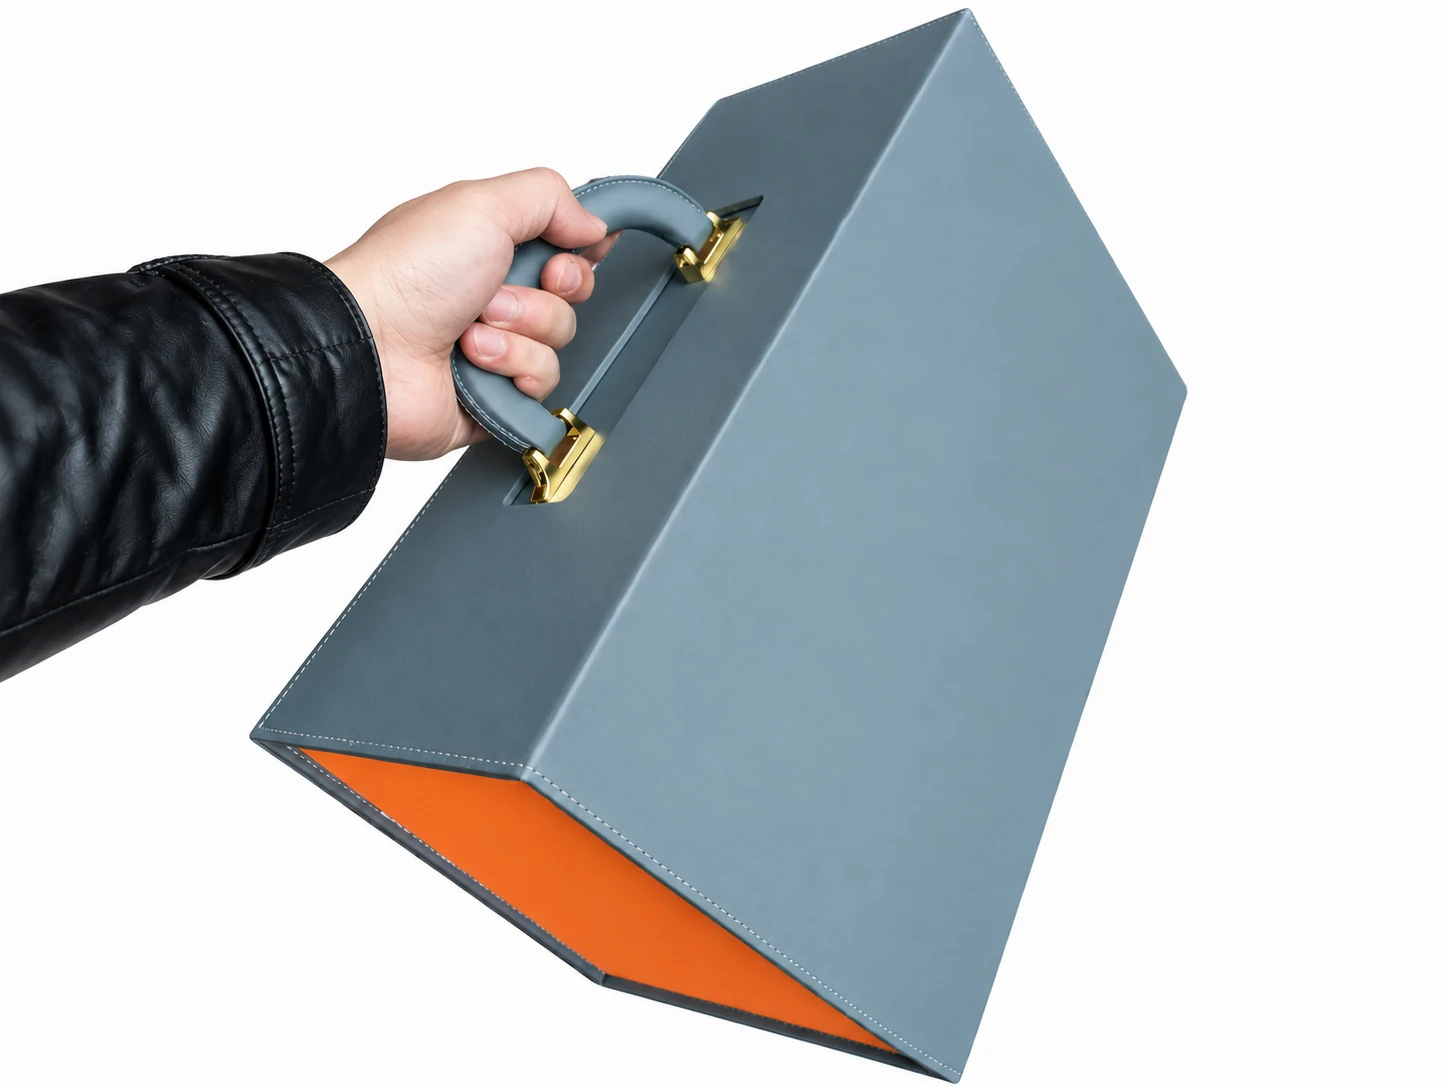
Picture a handle fixed to the magnetic flap. When your rep lifts the box, the full weight of the samples pulls on that flap. No magnet will hold that, so the box opens.
The right way is to cut a hole in the magnetic flap and let the handle come through it. The handle is attached to the box body, so the body carries the weight and the magnet only keeps the lid closed. Buckles on both sides work too.
The one exception is samples that are too tall and push the lid up. That comes back to accurate sample sizes. A well-made sample box should never open by itself when it’s carried.
How many samples should one box hold?
There’s no standard number, but the direction is clear: fewer, smaller, thinner.
Honestly, nobody can tell you in advance at which sample a box will start to struggle. The logic is simple, though. The box shouldn’t be too big, or it looks clumsy and is hard to carry. If the box isn’t big, it can’t hold too many samples. If you really have a lot, make each sample smaller or thinner, or split them across several boxes. A big box packed with heavy samples will run into trouble sooner or later. When we see that coming, we say so.
We’re not alone in thinking this. US tile brand Daltile launched a shoebox-sized sample box after its reps found the old sample boards cumbersome and started carrying 4 × 4 in samples around in shoe boxes (Stone World). In the UK kitchen and bathroom trade, one supplier cut its studio sample boxes from 60–70 small samples to about 20 larger ones, saying 60 "would be far too much" (kbb review).
Think about where the box ends up: on a designer’s shelf or in a rep’s hand. The compact one is the one that gets kept. If your samples are thin cards or fabric swatches, sample folders and binders may suit them better, and they’re lighter than a box.
Can you load the samples into empty boxes yourself?
Yes, and it’s easy. It’s a bit like building blocks: line each sample up with its slot and push it in.
We normally ship empty boxes with inserts, and your team loads the samples locally. That way you don’t have to send your whole range to China and back. For small runs, loading them yourselves is the simplest option. For larger runs, such as 500 or 1,000 sets, factory loading can be arranged and is quoted separately.
Local loading only goes smoothly if the sample sizes and thicknesses you give us are accurate. Before production, we send you the design drawing to confirm, with every slot’s width and length on it. If the samples your factory makes later come out a little thinner than the ones you measured, they’ll sit loose. So it’s best to measure samples from a production batch, not just one piece you have on hand.
There’s one case where samples must be sent to us. If a sample is sealed between bonded layers on all four edges, it can only go in at the factory during bonding. It can’t be added afterward.
One small detail: where do sample numbers go? EVA can’t be printed on, and labels don’t stick to it well. So codes and color numbers usually go on the samples themselves.
Can the insert be changed when you add a new collection?
Yes, without remaking the whole box.
The EVA is glued to the bottom of the box. With a bit of care, you can peel it off slowly. It may pull away a little of the paper underneath, which isn’t pretty, but once the new insert is in place, it’s hardly visible. Whether that’s acceptable is your call.
What should you prepare before ordering sample presentation boxes?
The most important thing is accurate sample sizes and thicknesses. For everything else, send what you have.
- The sample material, plus a few photos
- Length, width and thickness of each sample, and its rough weight (measured from a production batch if you can)
- How many samples per box, in what order, and which ones need to come out
- Book-style or fold-open, whether you need a handle, and whether the box will be carried or shipped
- How many boxes, where they’re going, and when you need them
- Your logo, text and the information for each sample
Incomplete information is fine to start with. Photos and rough sizes are enough to begin, and we’ll work out the rest together. Design is free after payment: send your logo, text and sample information, and we’ll lay it out. For how design, prototyping and production work, see Sample Book Design & Manufacturing.
When you’re ready, contact us. We normally reply within 12 hours.