
To order custom fabric swatch cards, start by sending us your reference images, swatch sizes, how many pieces go on each card, and the quantity you need. We’ll talk through how to make them, then give you a quote. Once you’ve approved the quote and paid, we can design them for you at no extra charge. If a physical sample is needed, we’ll make that first. Once everything is confirmed, we can move on to production and shipping.
Only need a few? Many of our standard constructions start from just 5 cards or 5 sets. We can also quote a single card as a separate physical sample, depending on the construction and your samples. If you’re just making a few for your sales team or trying out a new collection, ask for the quantity you actually need.
1. First, Tell Us Where You Are with Your Fabric
Send over any reference images you have. You don’t need a finished design first. We’ll look at the style you like and how your fabric could fit into it.
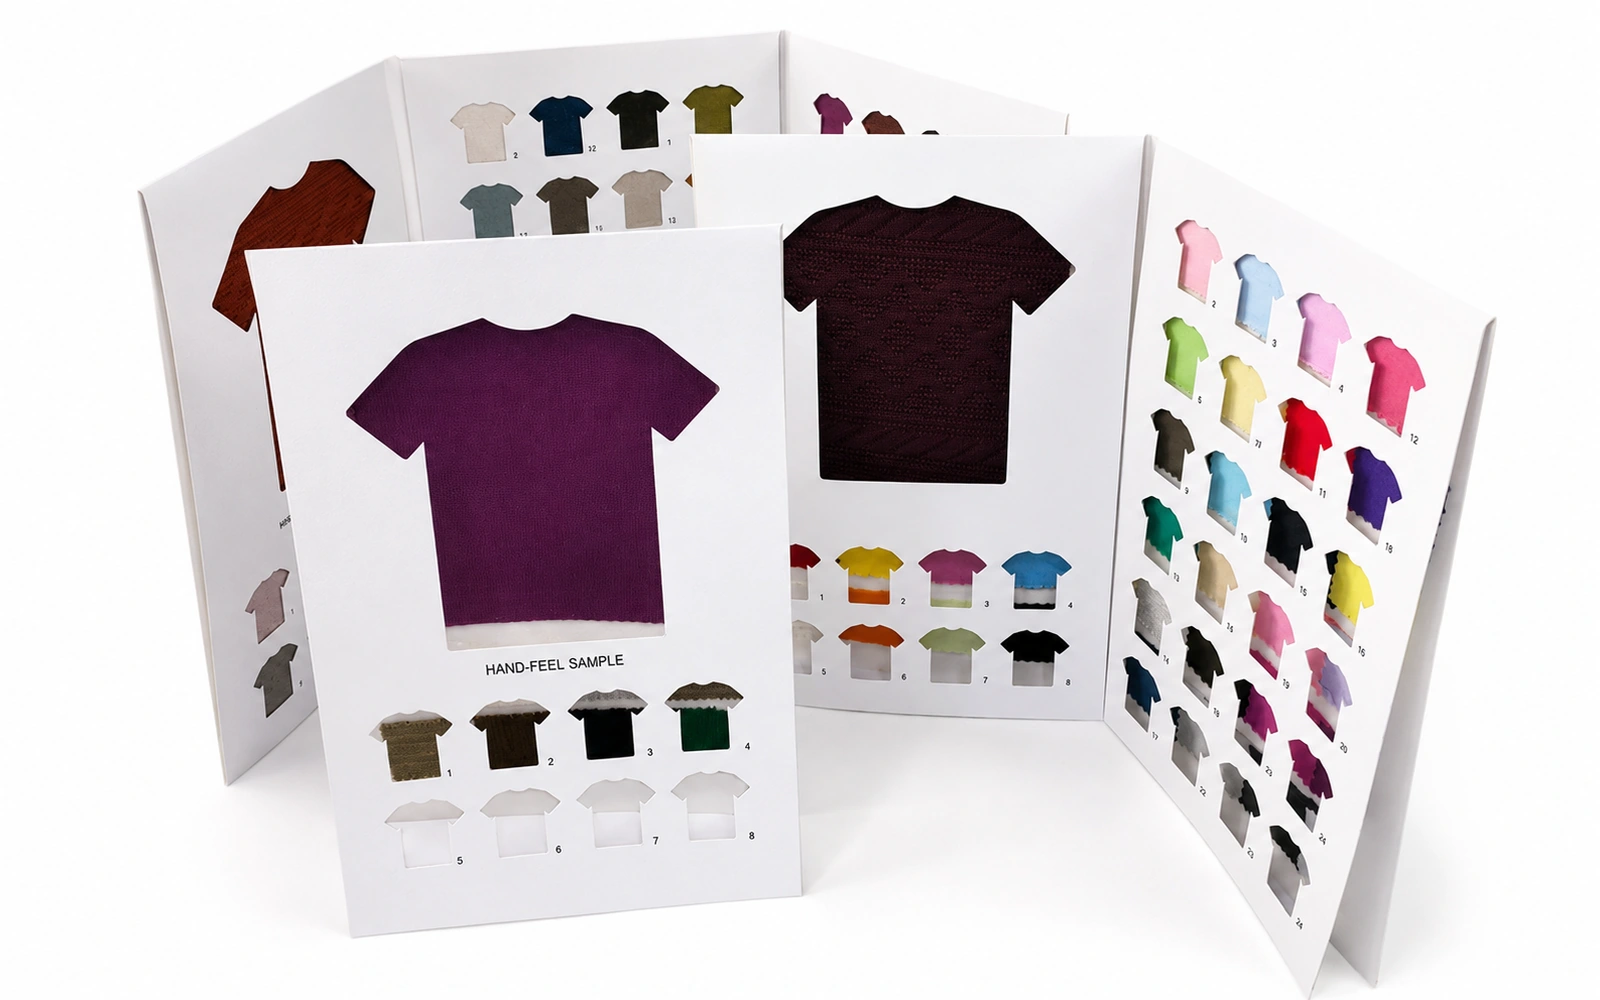
We usually start with a few questions: Is the fabric already cut? How big is each piece? How many pieces go on a card? Roughly how thick is the fabric?
If it’s already cut, send us the actual sizes and we’ll see how to arrange them. If it isn’t, we can talk through the layout and how the fabric will be attached before deciding on the cutting sizes. The choice of style is yours. If you really have no idea where to start, we can put together some references and give you suggestions.
With windowed cards in particular, the area of fabric you want to show and the size of the whole fabric piece may be different. If the edges need to sit behind the card, you can’t treat those two measurements as the same thing.
Send over the branding, color codes and product information you want printed, too. If the fabric has a particular face or direction that needs to show, mark it clearly. We’ll need that information for both the layout and attaching the fabric.
Not sure which format yet? Browse these fabric swatch card design ideas.
2. Agree on the Card and Who Attaches the Fabric, Then Get a Quote
Using cardstock or paper-wrapped rigid board for the same reference design can lead to different prices. We also need to look at the card thickness, what gets printed, whether there are windows, and any other finishes.
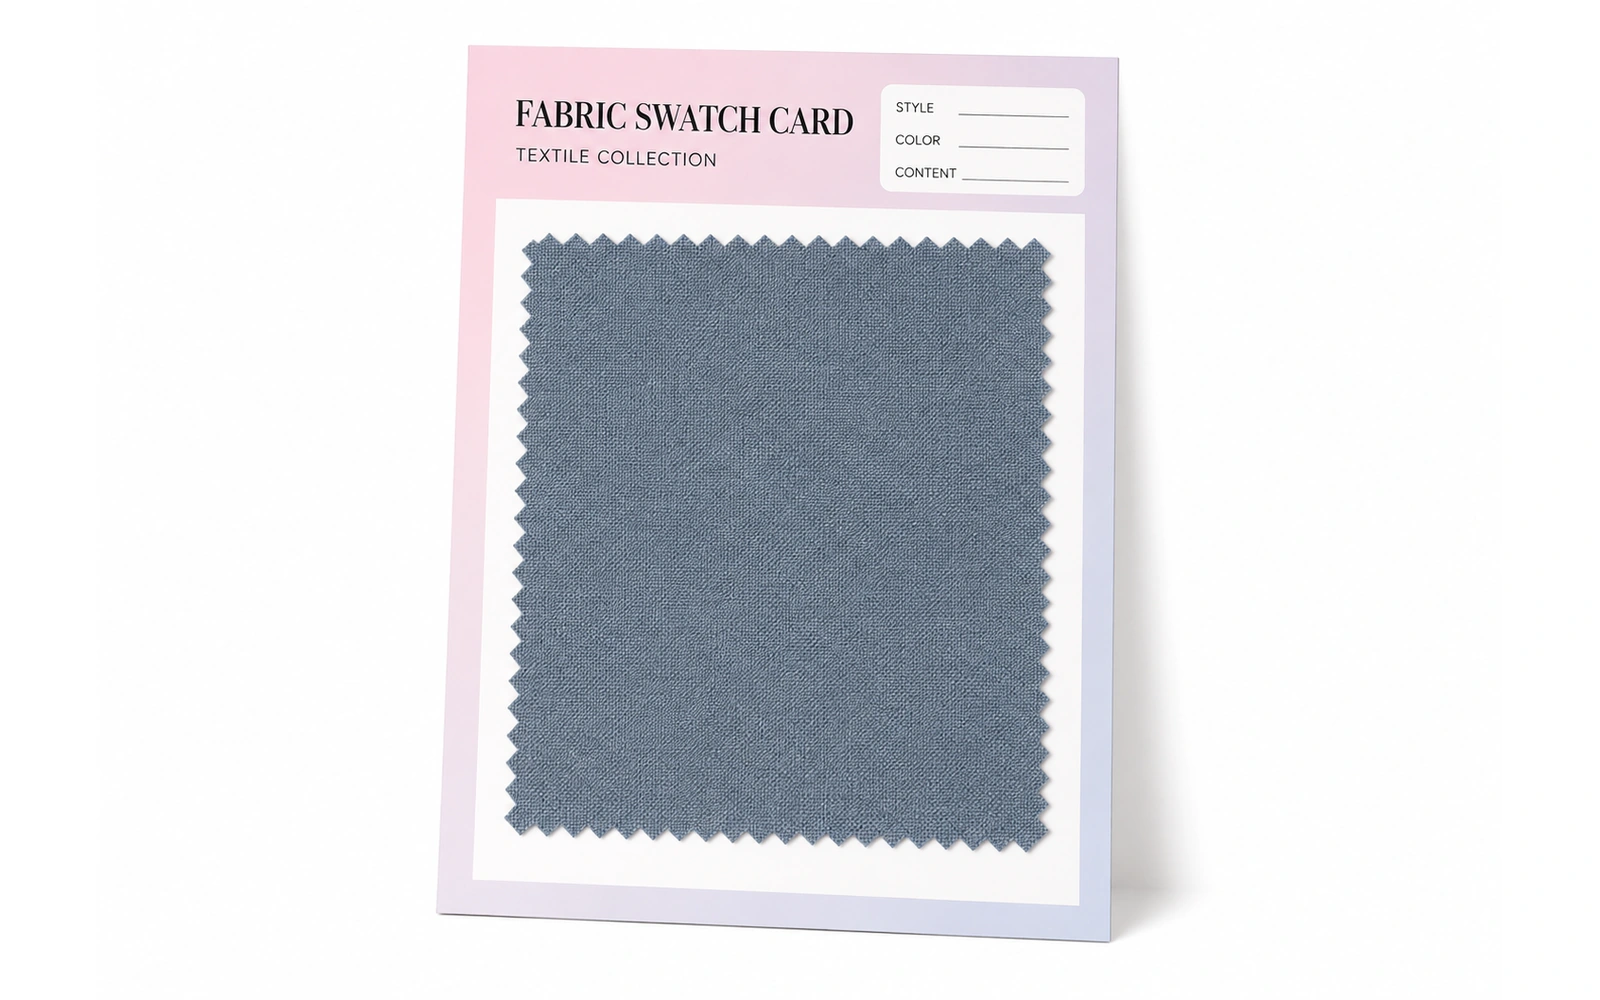
From the jobs we’ve done over the years, some customers are happy with 300 gsm white cardstock, around 0.4 mm thick. Others prefer thicker 0.8 mm white cardstock. If you have a lot of swatches and need a fold-out card with four panels or more, we suggest keeping it at around 0.4 mm. Go too thick and it gets harder to fold.
There’s another question to settle here: Will you attach the fabric yourself when the cards arrive, or do you want us to attach it before shipping?
For smaller quantities, we can usually make the empty cards—finished cards without the fabric attached—and you can attach the fabric locally. Otherwise, the shipping back and forth can become a sizeable expense.
If you’re not sure how to cut the fabric or can’t find anyone to cut it locally, you can buy a pair of electric fabric scissors and do it yourself. It may feel awkward at first, but after a few tries, you’ll get used to it. We know because we’ve tried it ourselves. Some customers with small orders simply didn’t want to do the cutting and insisted that we handle it.
The sizes, placement and attachment method still need to be agreed beforehand.
If you’d like us to attach the fabric, we’ll also need to discuss the cutting, arrangement and attachment method. That work is reviewed and quoted separately.
There’s one exception to the self-assembly option: if the fabric is fixed inside the card with all four edges sealed, it has to go in while the card layers are being bonded. For that construction, you’ll need to send the fabric to us. You can’t wait until the card is completely sealed and then insert the fabric yourself.
So when you find a style you like, settle how the fabric will be attached first. Once we’ve agreed on the construction and who’s doing what, we can quote for your quantity.
3. Design Starts After Payment. Check a Few Things on the Proof
Once you’ve agreed on the construction and quote and made payment, we can design the cards at no extra charge, laying out the swatches, branding and product codes.
When you receive the artwork proof, don’t just look at whether the layout looks good. Check the text, color codes and swatch positions one by one. Make sure each piece of fabric matches the right code.
And don’t cut your fabric to match a box on the artwork without checking what that box is for.
When each swatch has its own space, we usually print the placement guides slightly smaller than the fabric pieces. Once the fabric is attached, it covers the guide lines. We also make clear which point or edge to line up with, so if several people are attaching the fabric, they all have something to follow.
These guides show you where to place the fabric. They aren’t cutting dimensions. Window sizes need to be worked out separately for the construction.
If you’re attaching the fabric yourself, this is a good time to ask: “When the cards arrive, exactly where do I line up each piece?”
4. Prepare the Fabric for Local Assembly, or Arrange to Send It to Us
If you’re attaching the fabric yourself, prepare the pieces in the sizes and order we’ve agreed.
Double-sided tape or hot glue from a glue gun can be options, depending on the fabric and how it needs to be attached. If you’re unsure, try it with the actual fabric first. That’s easier than waiting until all the cards are made before deciding which adhesive to use.
For larger batches, if you need us to arrange the cutting, send the fabric over. We actually pass this work to a professional garment factory and pay them to do it. They have the equipment for batch cutting and check the cut pieces as well, so the finished pieces come out better.
We’ll agree on how much fabric to send and how to ship it beforehand. You cover the cost of sending it to us. We can also agree in advance whether any leftover fabric should be returned or kept.
5. If You’re Not Sure How It Will Work, Make a Physical Sample First
The artwork shows the layout, but sometimes you need a physical sample to judge the thickness, how the card opens and closes, and how well the fabric stays attached.
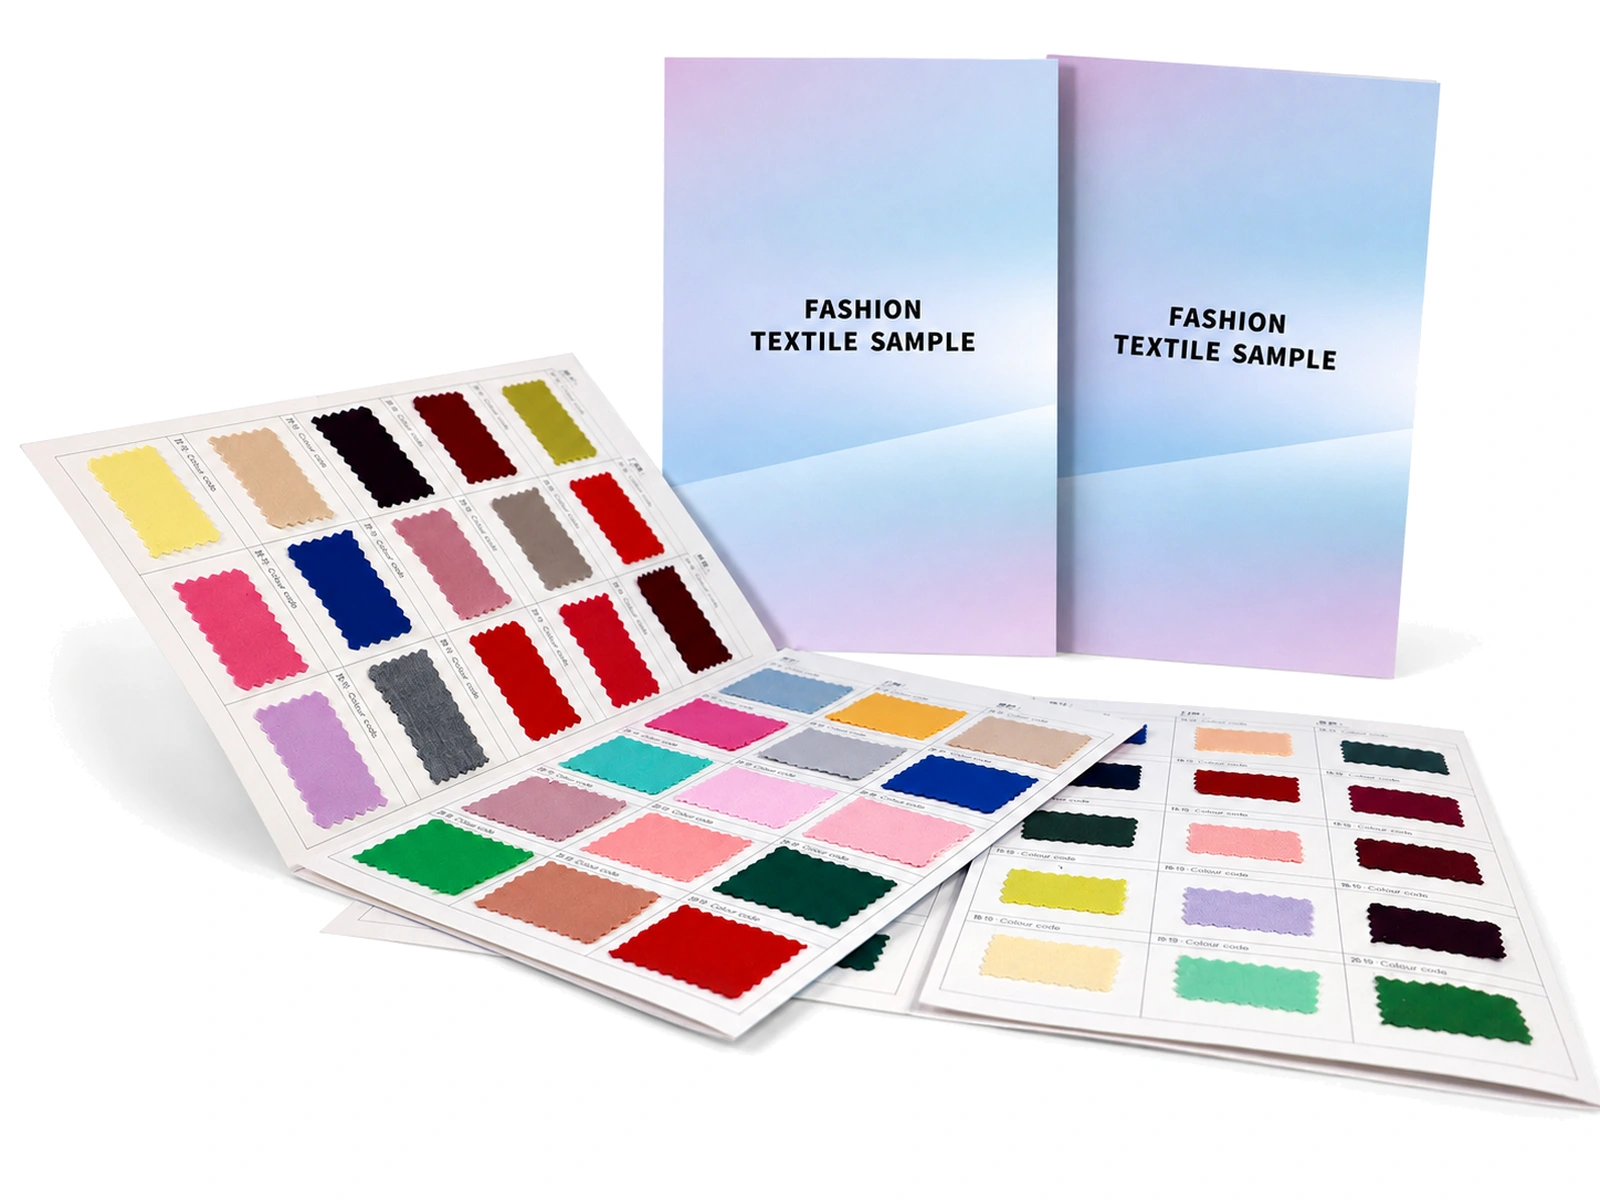
Take a folding card with thicker fabric on the two panels that fold together, for example. It may look fine when it’s open, but once you close it, several swatches could end up stacked in the same place. You’ll need to check whether there’s enough room at the folds or whether the swatches need to be moved. That’s why fabric thickness is such an important measurement.
Just because an empty card closes doesn’t mean it will still close once the fabric is attached.
If the point of the physical sample is to see how the card works with fabric on it, the fabric needs to be attached for that check. If you’ll be doing the assembly yourself, we can also agree that you’ll try it locally once the sample card arrives.
AI-generated reference images can help explain what you have in mind, but the construction still has to work in real life. A card that looks thin and flat in a picture may not look exactly the same with your fabric on it.
Physical samples are quoted separately. After final approval of the artwork and construction details, a standard sample usually takes about 10 working days. A more complex one takes around 15 working days. Shipping time is separate.
6. Once Everything Is Confirmed, We Start Production
Once the artwork, materials and construction are confirmed, and any fabric we need is ready, we can start fabric swatch card production.
If you’ve ordered empty cards, we’ll make the cards and any agreed components. If you’ve ordered them with the fabric attached, we’ll attach the swatches in the agreed positions and order.
Printing, die-cutting, board mounting, folding and fabric mounting may all be involved, depending on the construction you’ve chosen.
Once production has started, changing the window positions, swatch sizes or folding arrangement may mean redoing work that’s already finished. So if you’re unsure about anything on the proof, ask beforehand. Don’t feel awkward about checking again.
Production usually takes around 10–20 working days. We’ll confirm the timing based on the quantity, construction, finishes and fabric mounting involved. Shipping time is separate.
7. Check the Cards, Then Pack and Ship
For empty cards, we check the printed information, dimensions, die-cut positions and folds.
For cards with fabric attached, we also check for missing swatches, the wrong order or color codes, crooked or stretched fabric, and visible glue. For folding cards, we check that they still open and close smoothly with the fabric attached.
If you need the cards grouped by collection or each set packed separately, tell us when you ask for a quote so we can allow for that in both the quote and the packing.
If you have a trade show, launch or sales visit coming up, let us know the date early. Design approval, fabric preparation, sampling, production and shipping all take time. Production time alone won’t tell you when the cards will reach you.
You can start by looking at our custom fabric swatch cards. Find a style you like and send us the reference images and details of your fabric. If you only need 5 cards or 5 sets, tell us. We’ll talk through how to make them around what you actually need.