
“We want a sample box with a handle, something we can carry into client meetings.”
That’s how almost every recent inquiry about tile sample boards has started. A box does look premium. But not every set of samples belongs in one.
Before you choose, look at two things: how heavy the samples are, and how many there are.
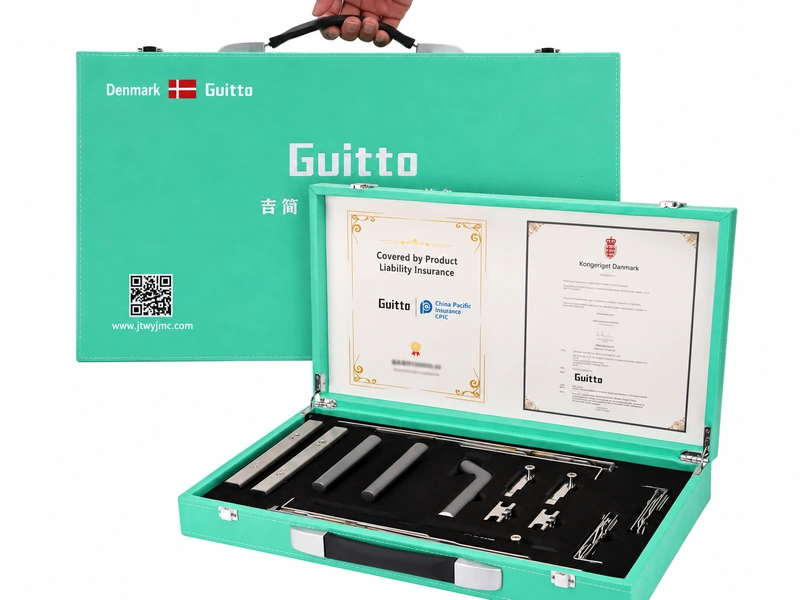
- A few samples, not too heavy, and you want it to feel premium: go with a sample box.
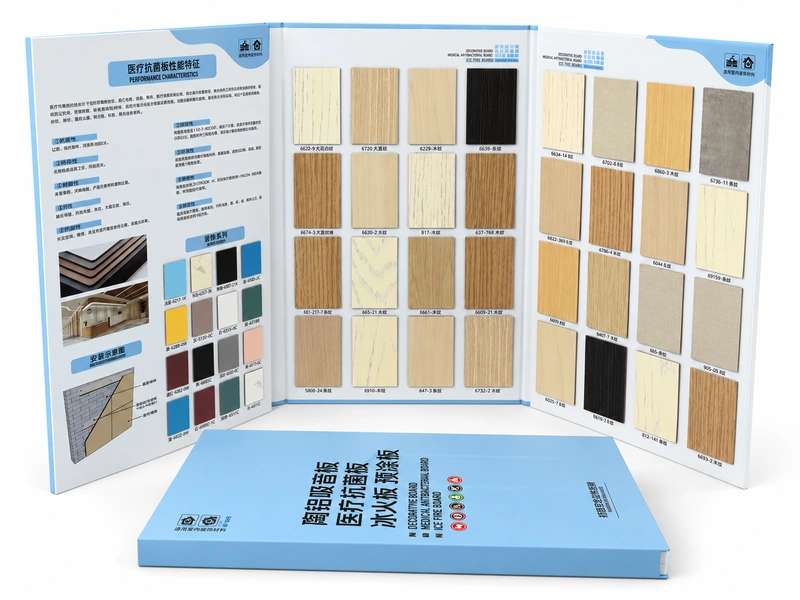
- More samples, a few dozen: go with a fold-out board.
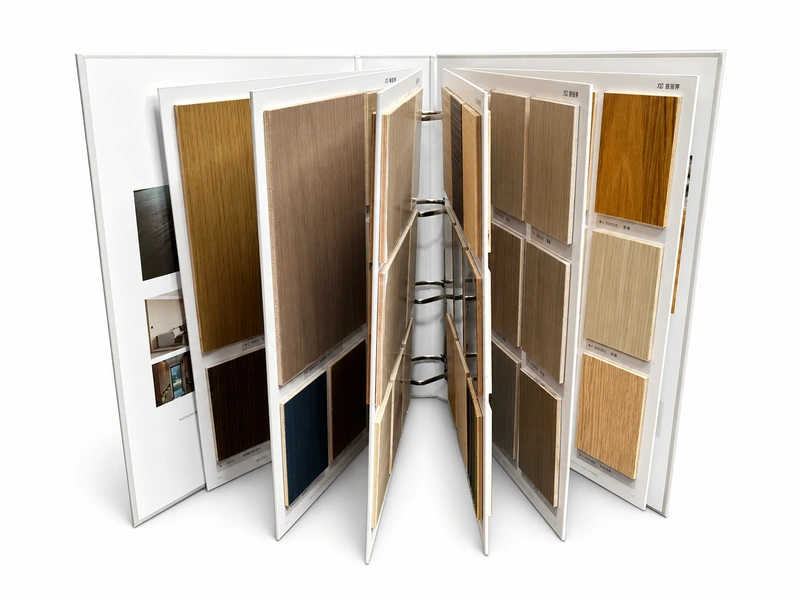
- So many that a fold-out can’t hold them, or you’ll add and swap samples later: go with a binder.
Below, we go through each one. Tile, stone, flooring, glass, metal panels: heavy, rigid building material samples all follow the same logic.
When Do Tile Sample Boards Work Best as a Box?
The biggest thing a sample box gives you is a premium feel.
Every client has a different budget and order size. If you want something upscale to carry into an important meeting, a sample box with a handle is the right call: open the lid, and every sample sits in its own slot in the insert. The first impression is different.
But a box has two limits: it can’t be too heavy, and it can’t hold too many samples. Here’s what we usually recommend:
- Length: 40–45 cm (about 16–18 in) is usually enough. You could go longer, but it starts to look awkward and feels clumsy to carry.
- Number of samples: It depends on how thick they are, so there’s no single number, but around 10 to 20 pieces is about right.
- Weight: Fully loaded, the whole box should stay under 10 kg (about 22 lb).
Anyone in the tile business knows how fast the weight adds up. One US tile importer, writing about building its own large-format sample boards, puts the limit for a board you can still move around at about 50 lb (roughly 23 kg). That’s a big board hauled to a job site. A box you carry by hand into a meeting should be much lighter.
 clayimports.com
Inside the box, we use EVA or EPE foam at least 1 cm (about 3/8 in) thick as the insert, with slots cut to the thickness of each sample, so nothing rattles around.
Magnetic Lid or Clasp?
There are two common ways to close the lid. Neither is better; it depends on what matters more to you:
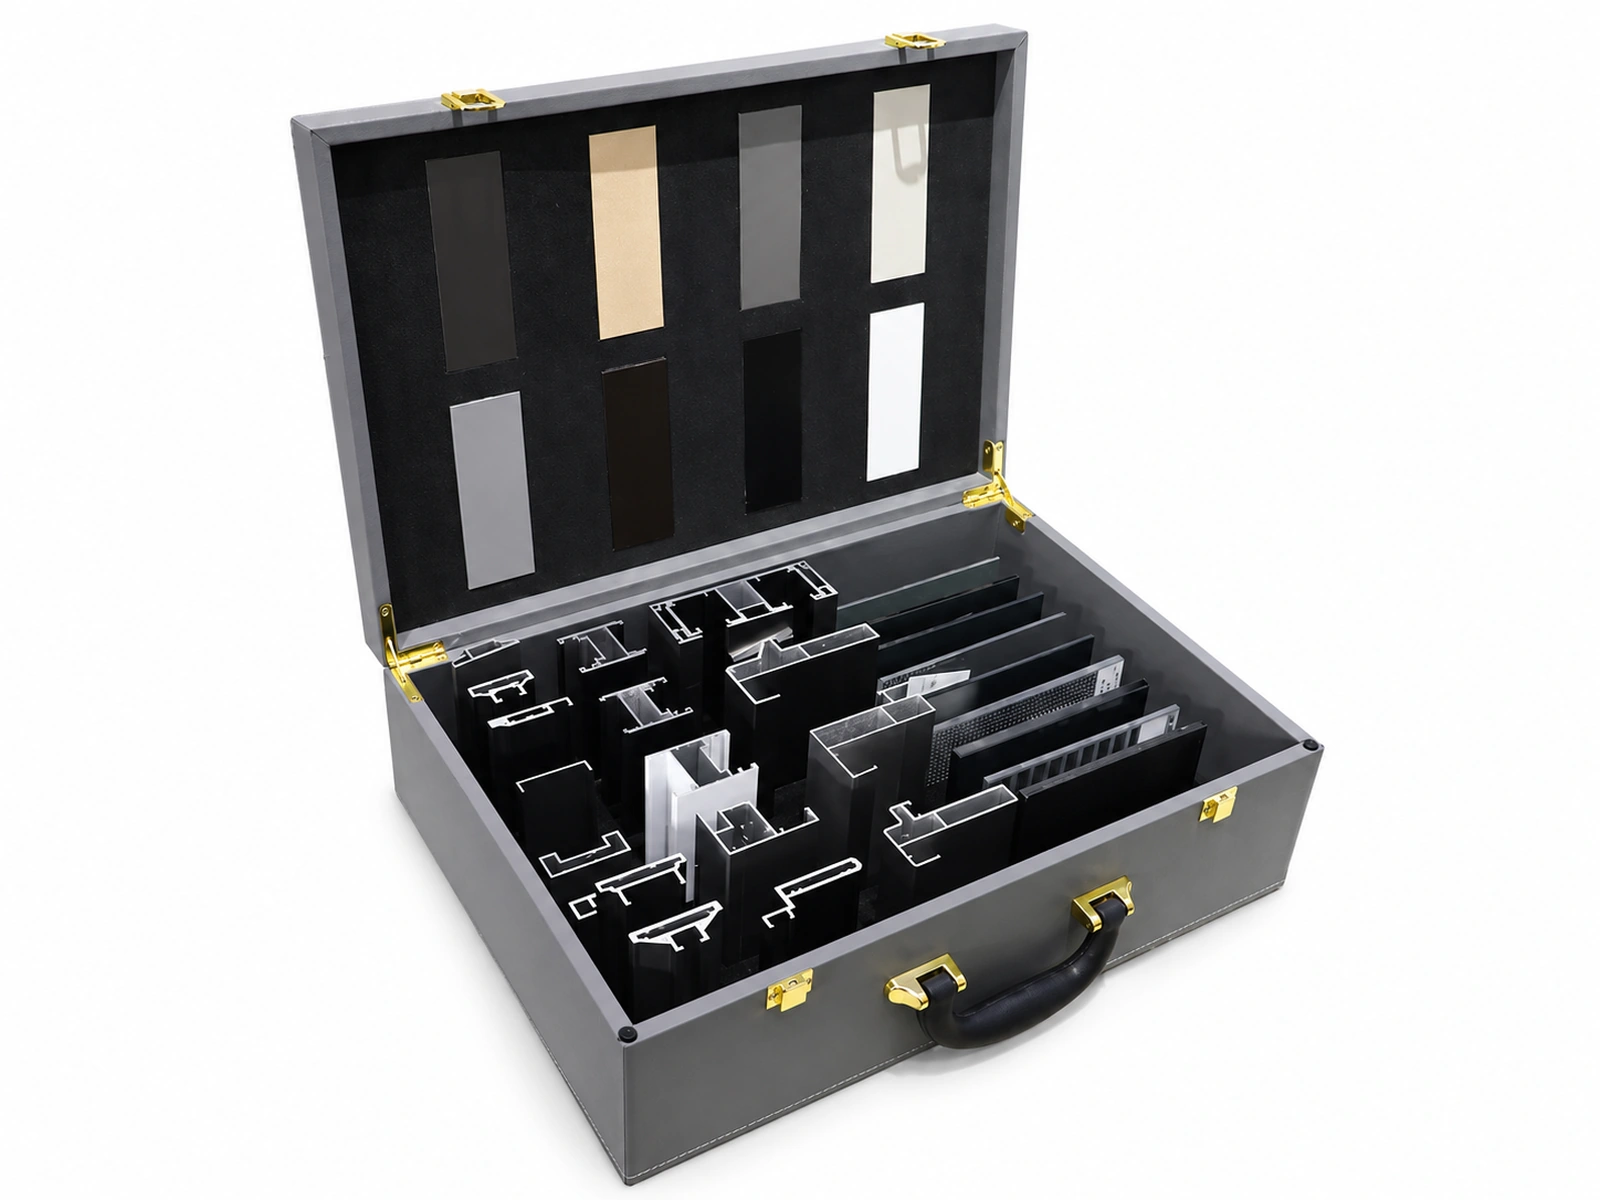
- Magnetic flap lid: The magnets are hidden in the lid, and it snaps shut. No hardware shows on the outside, the box looks clean, and it opens and closes in one motion. Opening it in front of a client feels like an occasion. The thing to watch is the handle: it should come out through a cutout in the lid, so the weight hangs on the box body, not on the magnets. If the box pops open when you pick it up, the structure is wrong.
- Clasp closure: A clasp on the outside locks the lid shut. It holds more securely than magnets. If the samples are on the heavy side, or the box goes to job sites and gets bounced around in and out of cars, a clasp is the safer choice: it won’t spring open halfway. The trade-off is that the hardware shows, and opening the box takes one extra step.
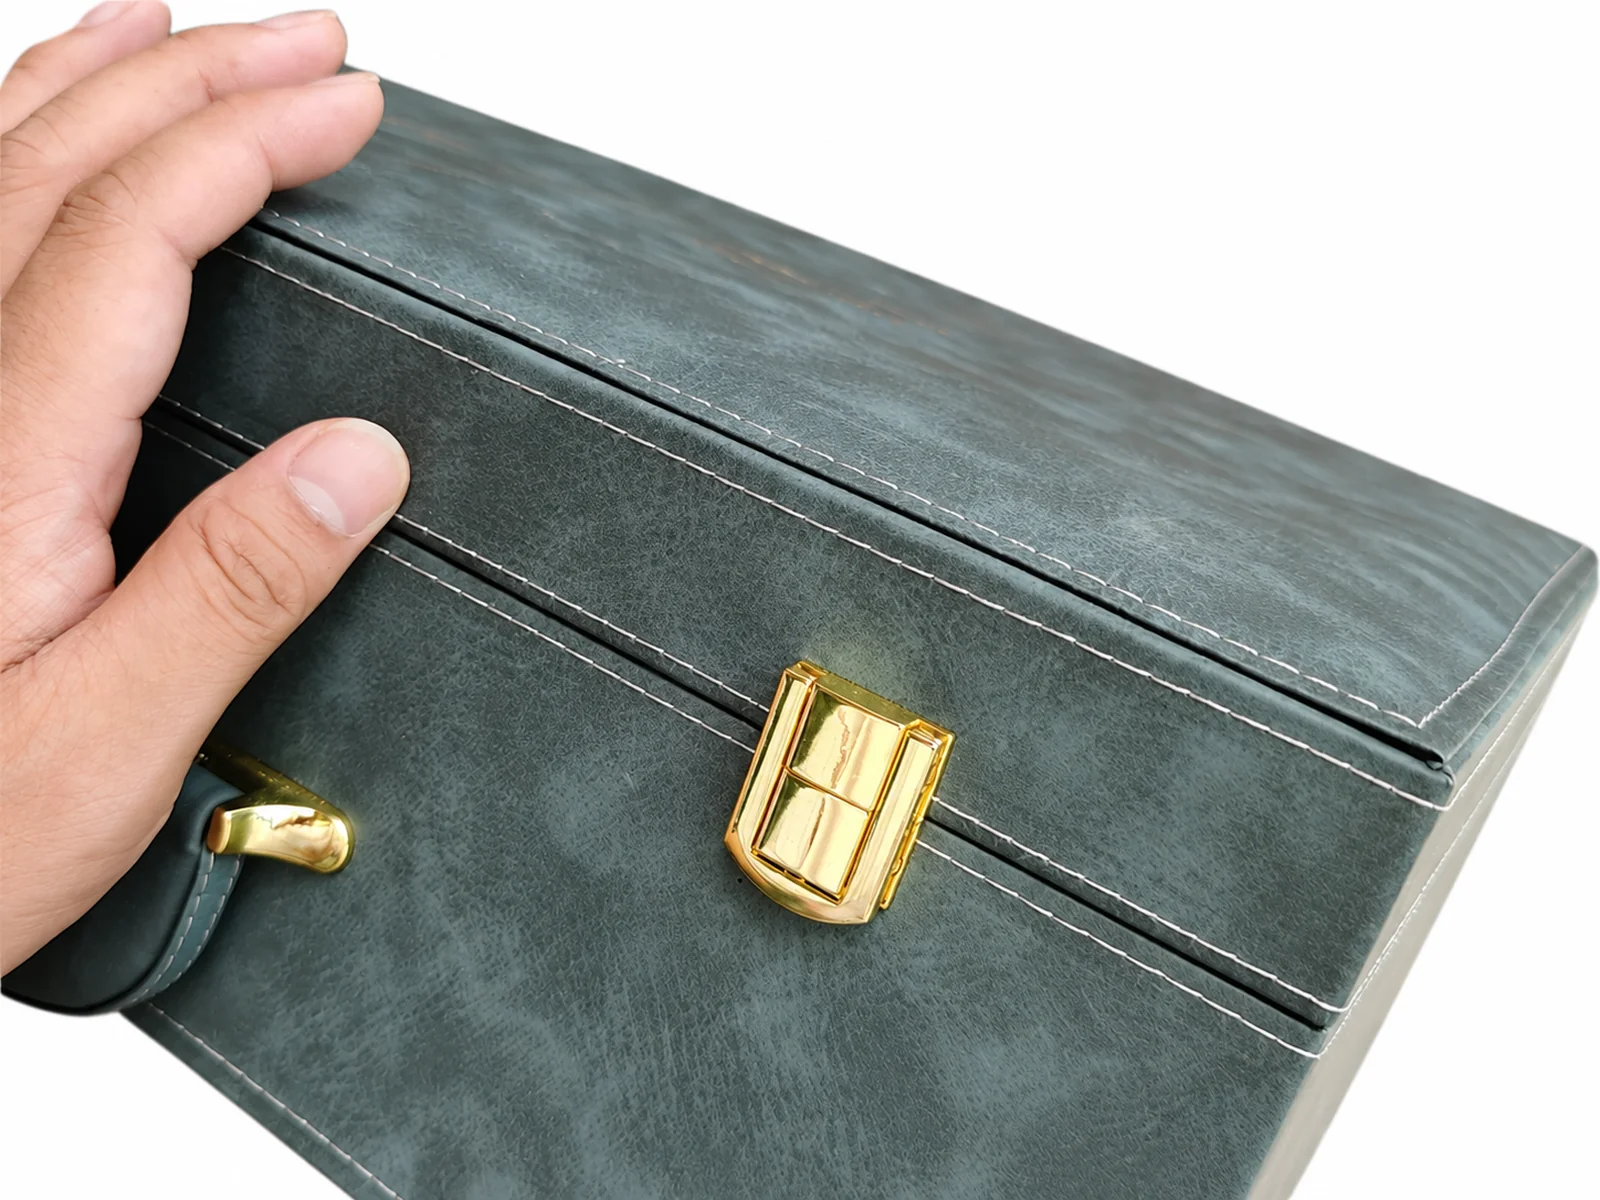
Simply put: if looks and the moment of opening the box matter most, choose magnetic. If the samples are heavy and the box travels a lot, choose a clasp. Not sure? Tell us how heavy the samples are and how the box will be used, and we’ll help you choose.
Want the Samples Seen Without Opening the Box? Add a Window
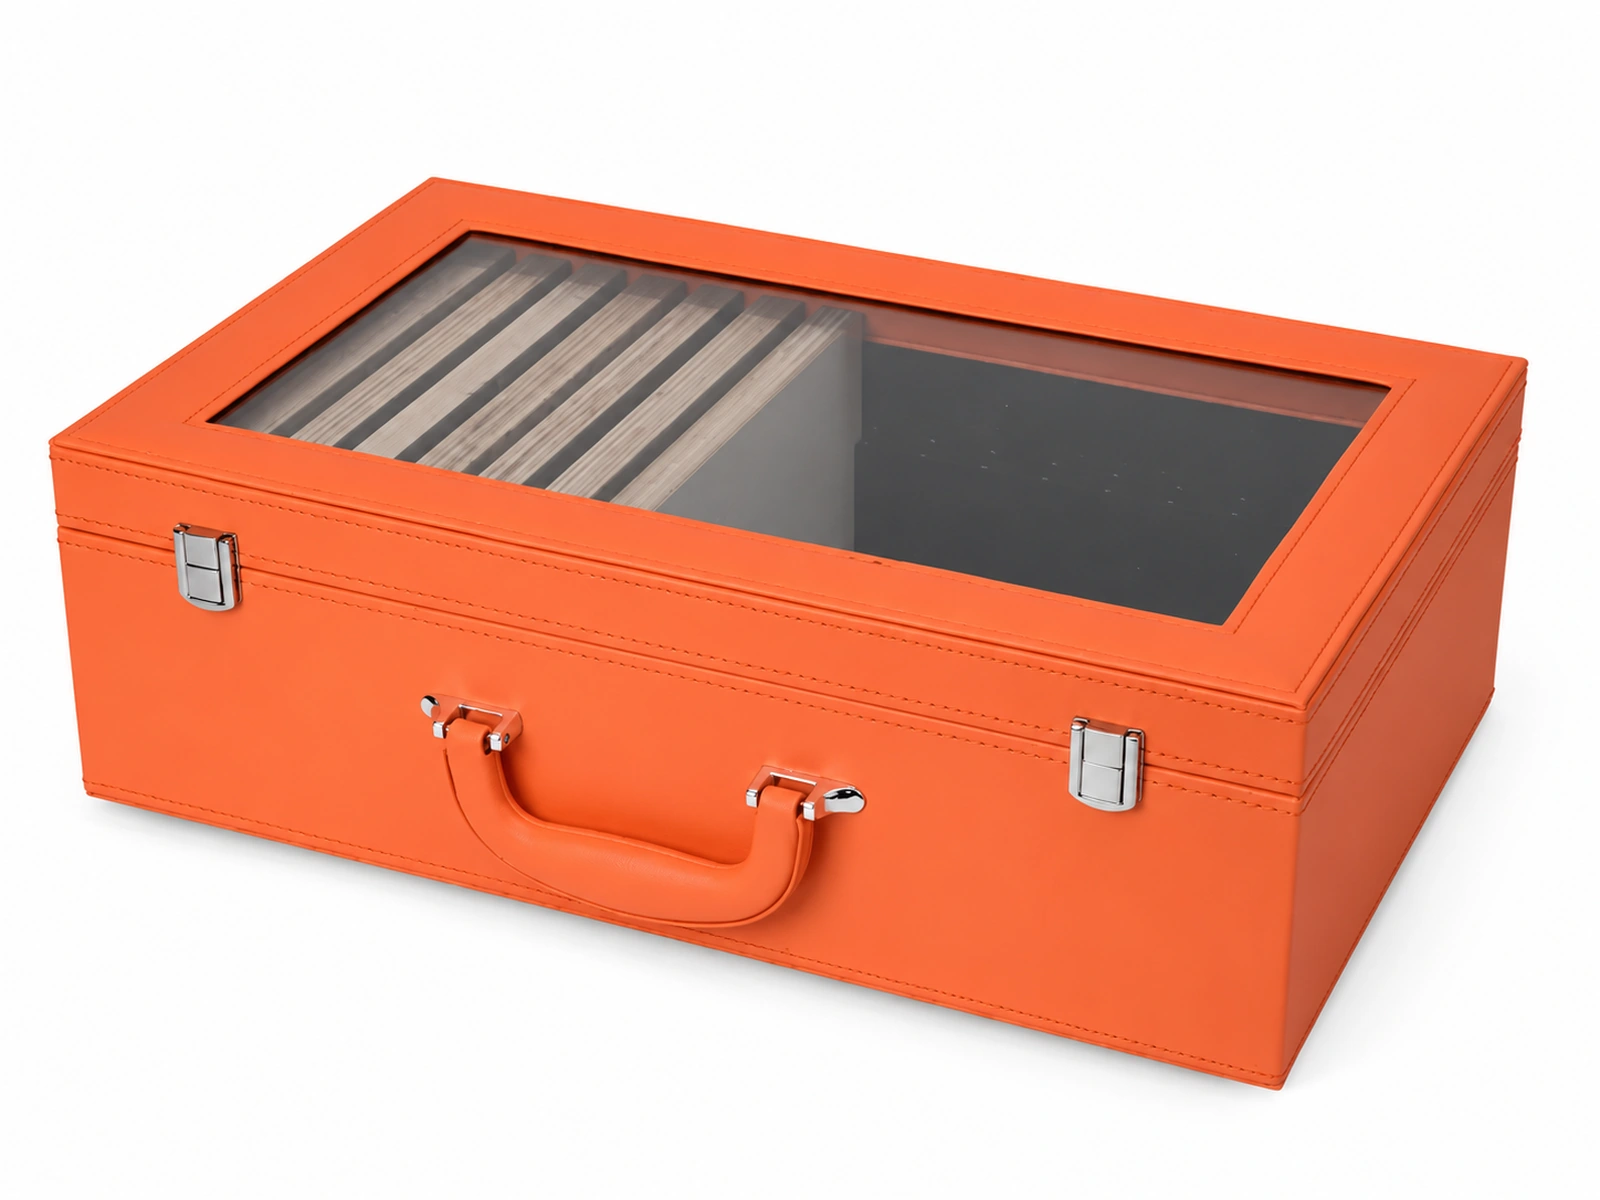
Another option is to cut a window in the top of the lid and cover it with clear film. That way the samples can be seen without opening the box:
- On a showroom shelf or a trade show table, anyone walking past sees the colors and textures at a glance. The box itself becomes a small tile sample board display.
- Clients see the real samples the moment they pick it up, which makes them more likely to open it and look closer.
- The film keeps out dust and fingerprints, so the samples stay clean.
The window has to be designed together with the insert: its size and position decide which samples show. Usually, the ones you most want to push go right under the window. The window is part of the lid, so it works with either a magnetic lid or a clasp.
The Most Common Problem: Wanting a Box the Samples Won’t Fit
Many clients decide on a box from the start. But once we run the numbers, the samples turn out to be too heavy or too big.
Picture it: walking into a client meeting with a box almost a meter long and over 10 kg. Getting through the door, setting it on the table, opening it: all awkward. The premium feel is gone.
When that happens, we suggest one of two things. Use fewer pieces, or smaller and thinner samples, and keep the box. Or switch to a fold-out board or a binder.
You can see the box styles we make on our sample presentation boxes page.
Dozens of Samples? Go With a Fold-Out Sample Board
With more samples, even a few dozen, a fold-out board fits better.
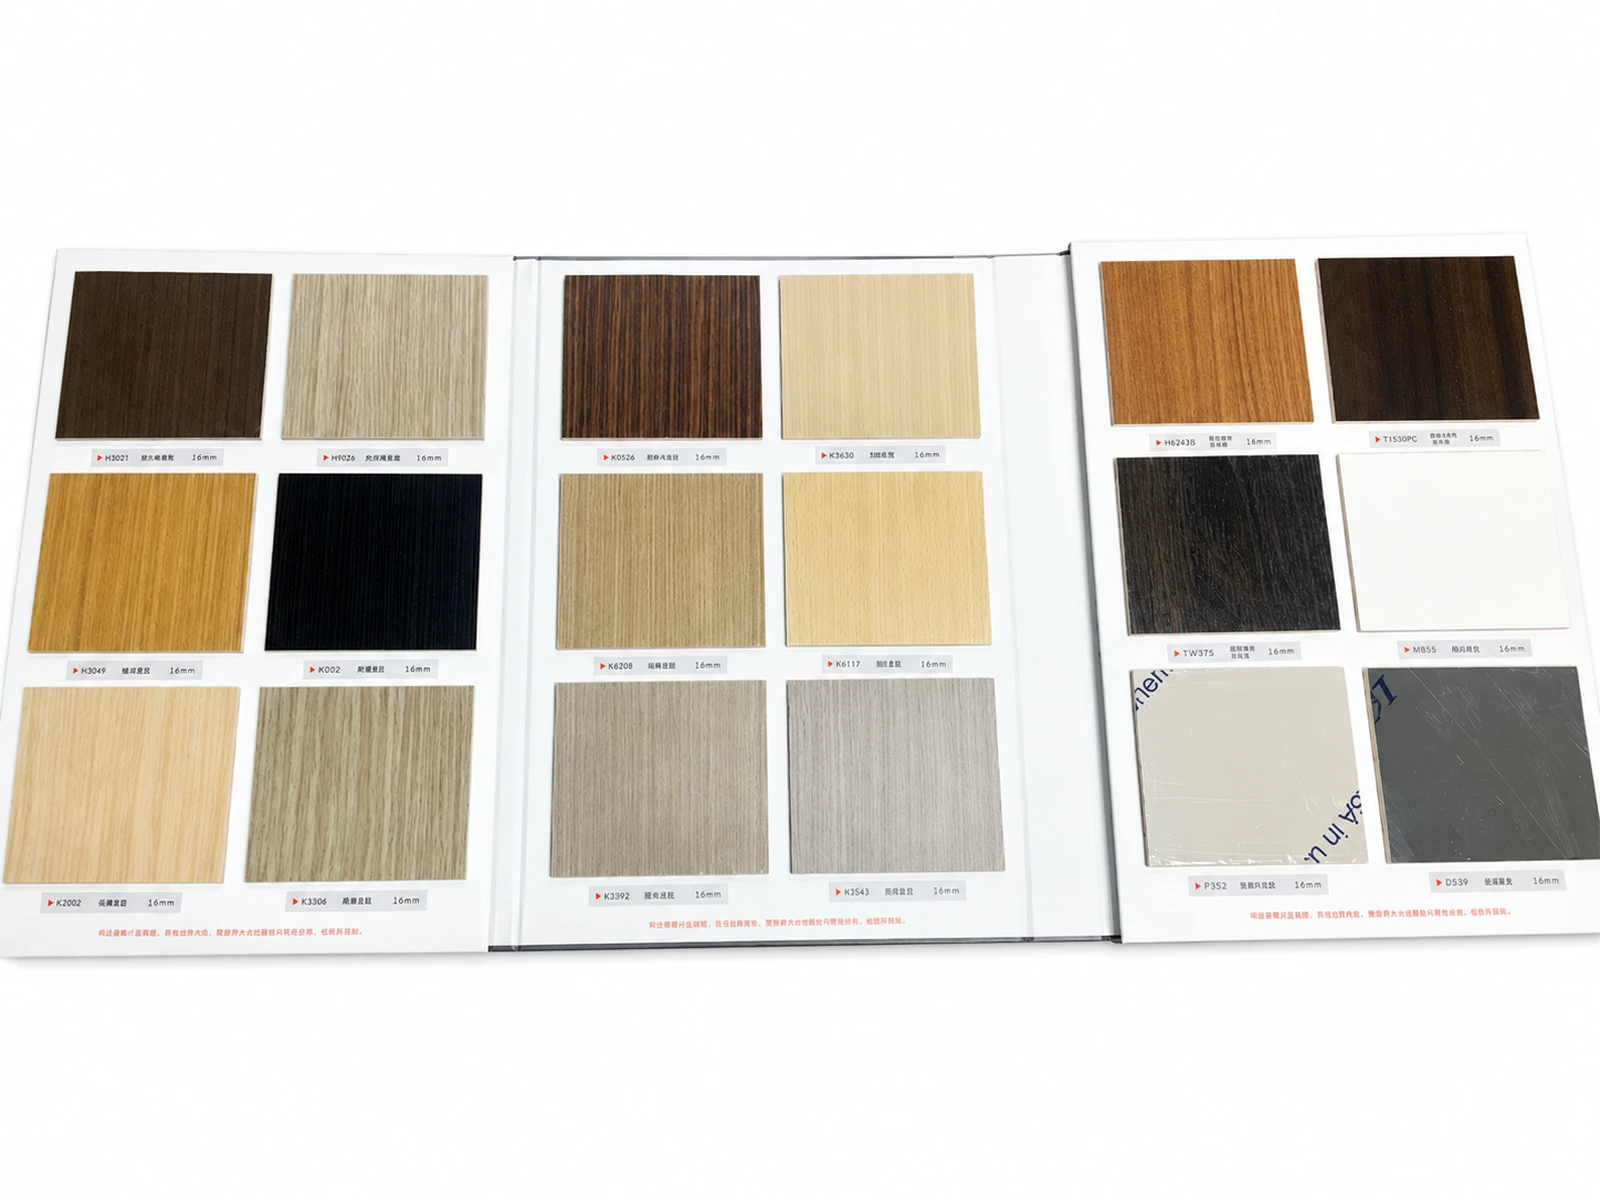
A fold-out sample board uses rigid greyboard as the base. The samples are glued straight onto it, and the whole thing folds up like a folding screen. It can be a three-, four- or five-panel fold. Closed, it’s one compact piece. Open it up, and every color and texture sits side by side.
The limit is length. Printing and board mounting both have a maximum size, so a fold-out usually opens to a little over a meter at most (about 40 in). The size we make most often opens to around 90 cm (about 35 in). Anything longer, one and a half or two meters, isn’t practical as a fold-out.
Even More Samples, or Heavier Ones? Use a Binder
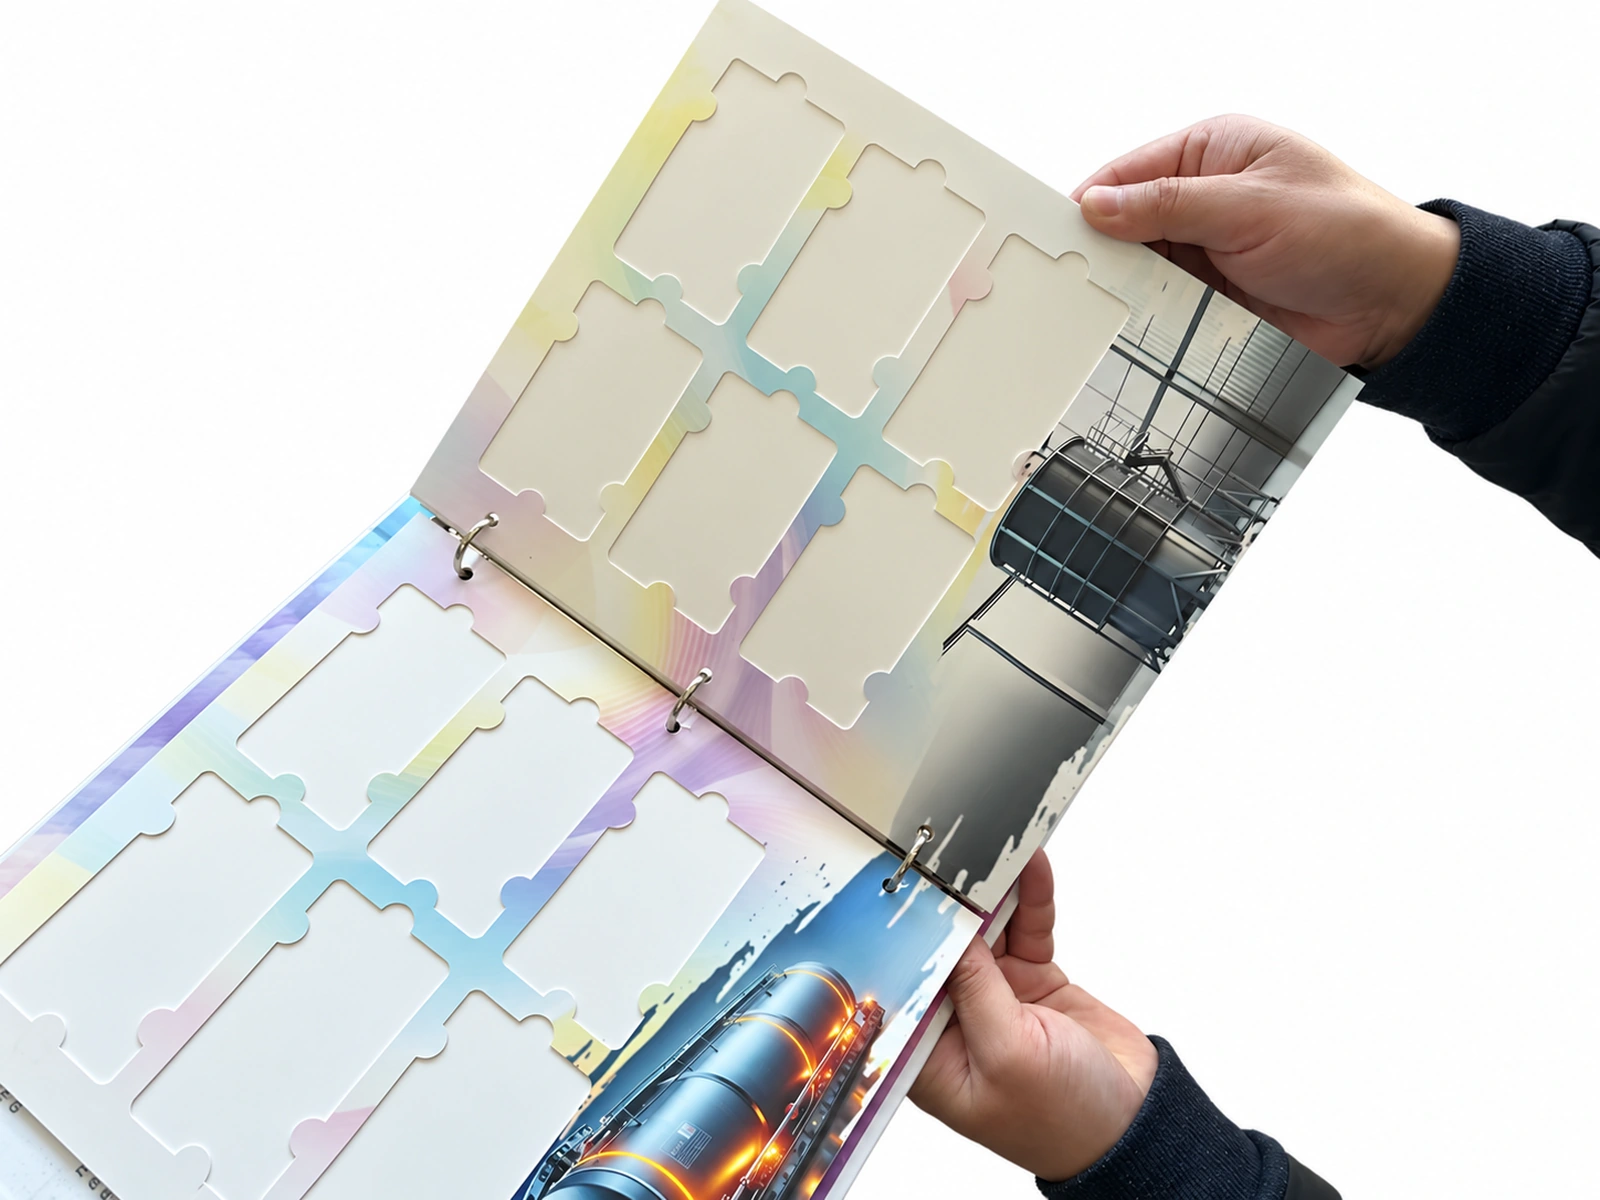
When there are too many samples for a fold-out, a sample binder is the easiest choice. In principle, it can hold anything.
Binder pages can be made three ways, and you can mix them:
- Flat-mounted: samples glued directly onto the page.
- Slotted: slots cut into the page, with samples set into them.
- Card insert: each sample fixed to a card first, then slipped into the page.
Heavy samples like tile and stone need thicker pages, or the pages bend. We usually laminate two sheets of white card together, which makes them much stronger. For anything heavier, we use greyboard as the core and wrap it on both sides with white card or coated paper. The pages can still be printed with model numbers and notes.
A binder has its trade-off too: the bigger it is, the less convenient it is to flip through. Not to the point of being unusable, just not as easy to handle as a box. On the plus side, a binder makes it easy to add or remove samples later. When the season changes or new products come out, you only swap the pages instead of remaking the whole thing, which also costs less.
Which Building Material Samples Work on Sample Boards?
This approach isn’t just for tile. Any sample that’s heavy, rigid and shown to clients to compare color and texture can go in a box, a fold-out or a binder, depending on weight and quantity:
- Ceramic tile sample boards: ceramic and porcelain tile, mosaics
- Stone sample boards: natural stone, marble, granite, quartz countertops
- Flooring sample boards: hardwood, laminate, SPC and LVT flooring
- Carpet and rugs (soft samples mount differently, see our guide to carpet sample boards)
- Brick and roof shingles (for thick samples, see our guide to brick sample boards)
- Glass
- Metal: aluminum panels, stainless steel sheet, thin metal samples, powder coating color panels
- Decorative panels: wood veneer, high-pressure laminate (HPL)
Not on the list? We can still make it. However much samples vary, it comes down to shape, size, thickness and weight, and we design around those.
Glass and thin metal samples can go in a box, a fold-out or a binder too. You decide the same way as with tile: first check how heavy they are and how many there are.
Still Not Sure Which One?
Just tell us:
- the size and thickness of each sample;
- how many pieces go in one set;
- how it will be used: kept in a showroom, or carried by a sales rep to client meetings.
We’ll work out the weight and size first, tell you whether a box, a fold-out or a binder fits best, then send you a design drawing to approve. As long as the sizes and thicknesses are accurate, the samples drop in like building blocks.
Send us your sample details, or see how our sample book printing works, from design drawing to finished set.
If your stone or tile samples need to go into a book that people can flip through, see our heavy sample book guide.