
When customers talk to us about business cards, they often ask if we can make a sample first.
That makes perfect sense. You haven’t held the card yet, so you don’t know how the paper feels or how your design will look when it’s made. You’d like to see one before deciding. If I were ordering business cards, I’d want a sample too.
But the high-end custom business cards we make at ZIVFY are different from ordinary gang-run cards—where dozens of customers’ designs are laid out on one large sheet of coated card stock and printed together in a single run. The processes and the way the work is done are completely different.
Why does it take so much work? To start with, most of the papers we use for our business cards are specialty papers that aren’t suitable for standard production-line printing. When we print on these papers, we engrave a separate copper plate for each color, then print on a traditional, manually operated press.
Let’s take a color core (triplex) business card as an example. It’s easier to explain when you follow one card through the process.
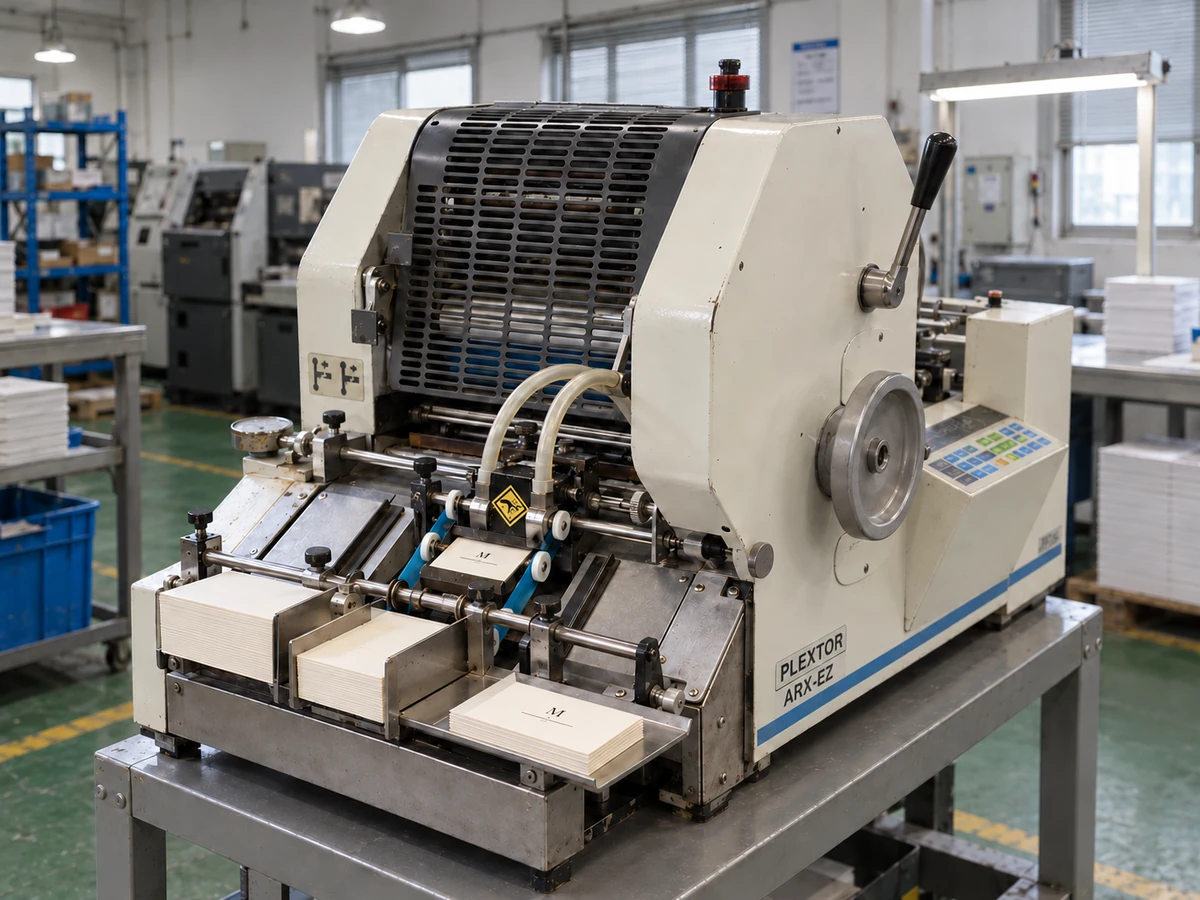
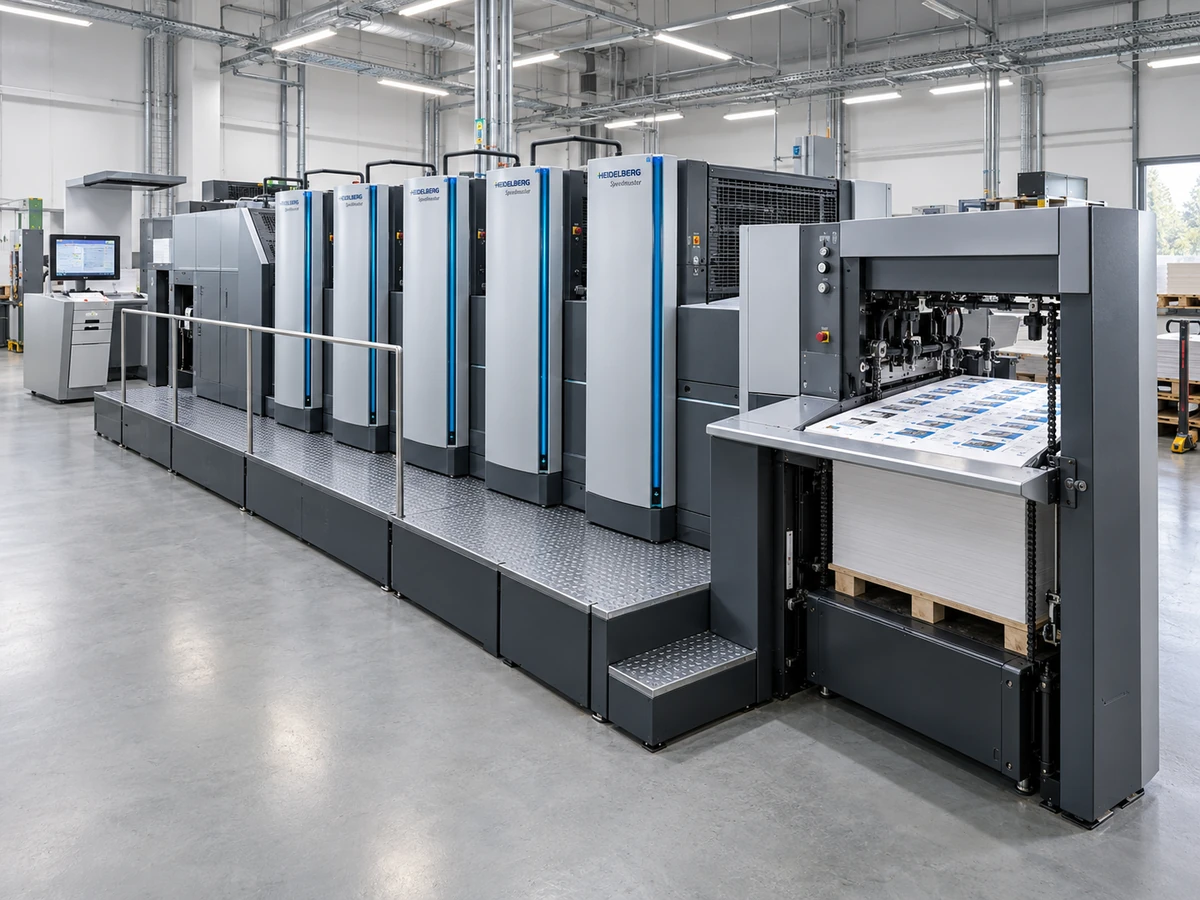
Printing One Side and Foiling the Other Are Two Separate Steps
Say you’d like a color core business card with gold foil on the front, printed text on the back and a colored sheet in the middle.
When you hold it, it’s one card. But when we make it, we have to start with separate sheets. We do the work on the front sheet and the back sheet separately. Once both are finished, we put the colored core sheet between them and bond all three layers together.
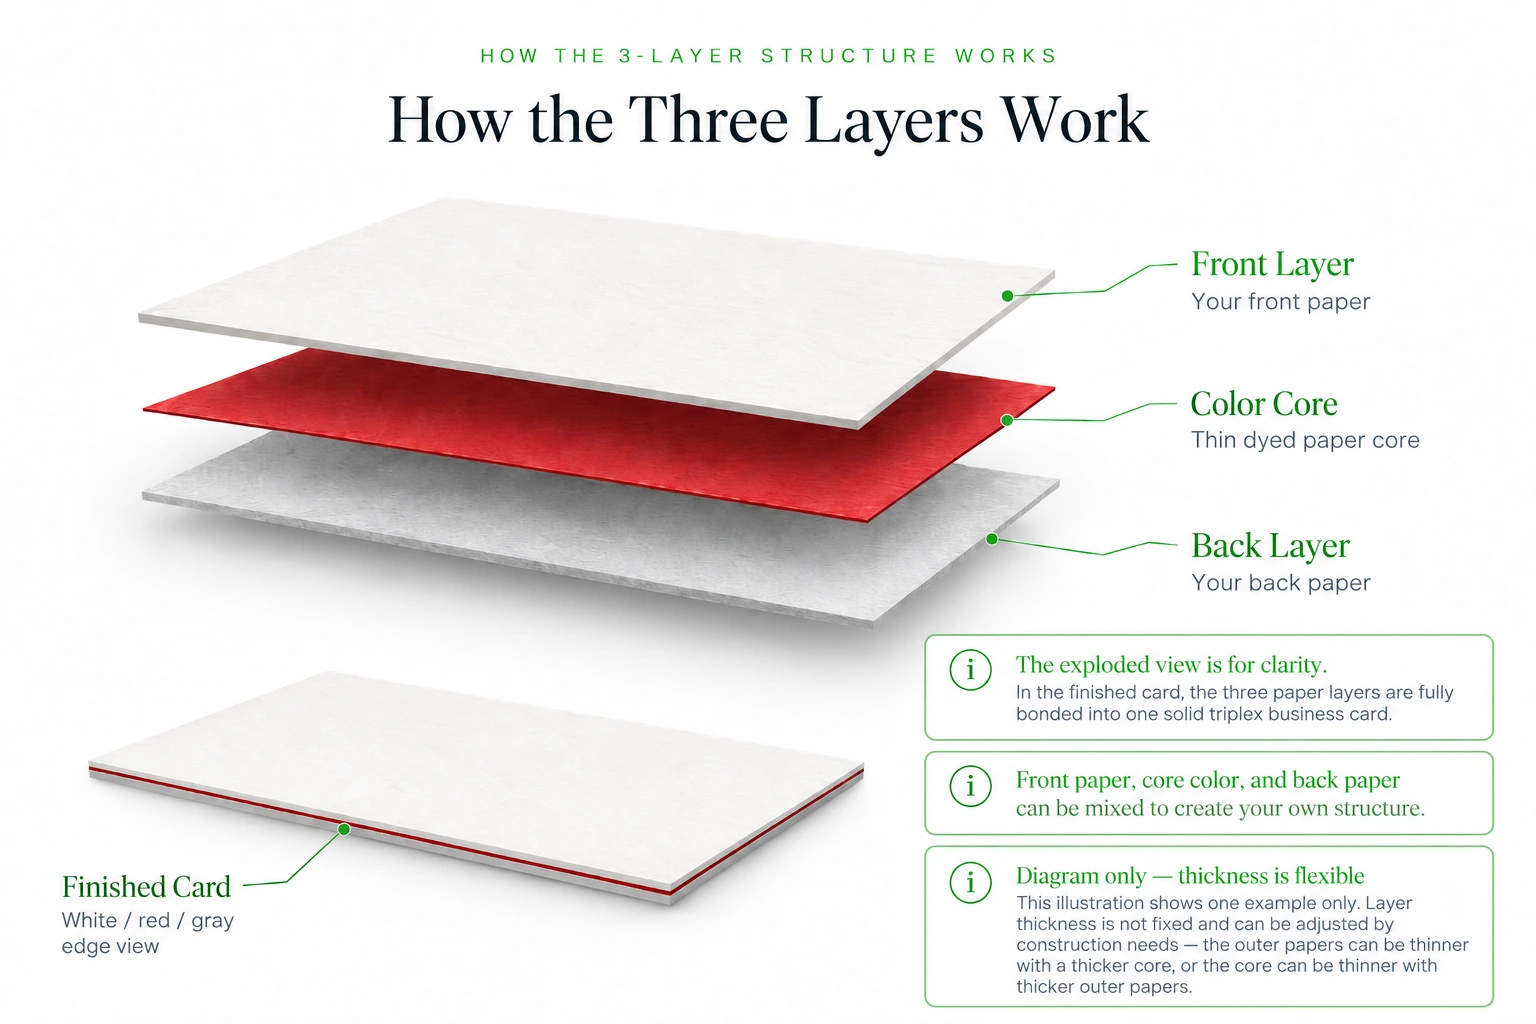
So although you’re asking for just one card, we’re not taking a ready-made thick card, printing something on each side and calling it done.
Let’s start with printing the back.
Changing the Paper and Ink Doesn’t Mean We Can Print Your Sample Yet
First, we make a printing plate from your text and artwork, mount it on the press and get the position right. When the paper thickness changes, the press needs adjusting too. We can’t simply keep the settings from the previous job. Mounting the plate, lining everything up and making test prints are all part of getting ready.
Then we change the ink. If the previous job used a different color, we have to clean out the old ink before adding yours.
Here’s something we’ve run into during production: just because the press looks clean after washing doesn’t mean the new ink will print the right color.
There may still be a trace of old ink in a hard-to-reach corner that you can’t see. Suppose your job calls for white ink. As soon as the press starts running and that trace of old ink mixes in, the color is wrong—and the difference is obvious. It’s not something you have to look closely to notice. You can see it as soon as it’s printed.
So we can’t just judge it by how clean the press looks. We need to put the ink on and make test prints to see what color actually comes out.
If the color is affected, we have to keep cleaning, changing the ink, making test prints and adjusting.
And getting one print that happens to look right doesn’t mean we’re ready. We have to keep printing and check that the color stays consistent. It can’t look right on this sheet and change again on the next. That means using paper for repeated tests, checking each result and adjusting as we go.
Only then is the back ready for normal production. You may only want one finished card, but it takes more than one sheet of paper to get us to that point.
Once the Printing Is Ready, the Foil Stamping Needs Its Own Setup
With the back printed, we move on to the foil stamping for the front.
Foil stamping needs its own die. We can’t just change the color and reuse the plate that printed the text. We have to make a separate die for your foil design, mount it on the machine, line it up and adjust the temperature and pressure. Different paper surfaces also need different settings.
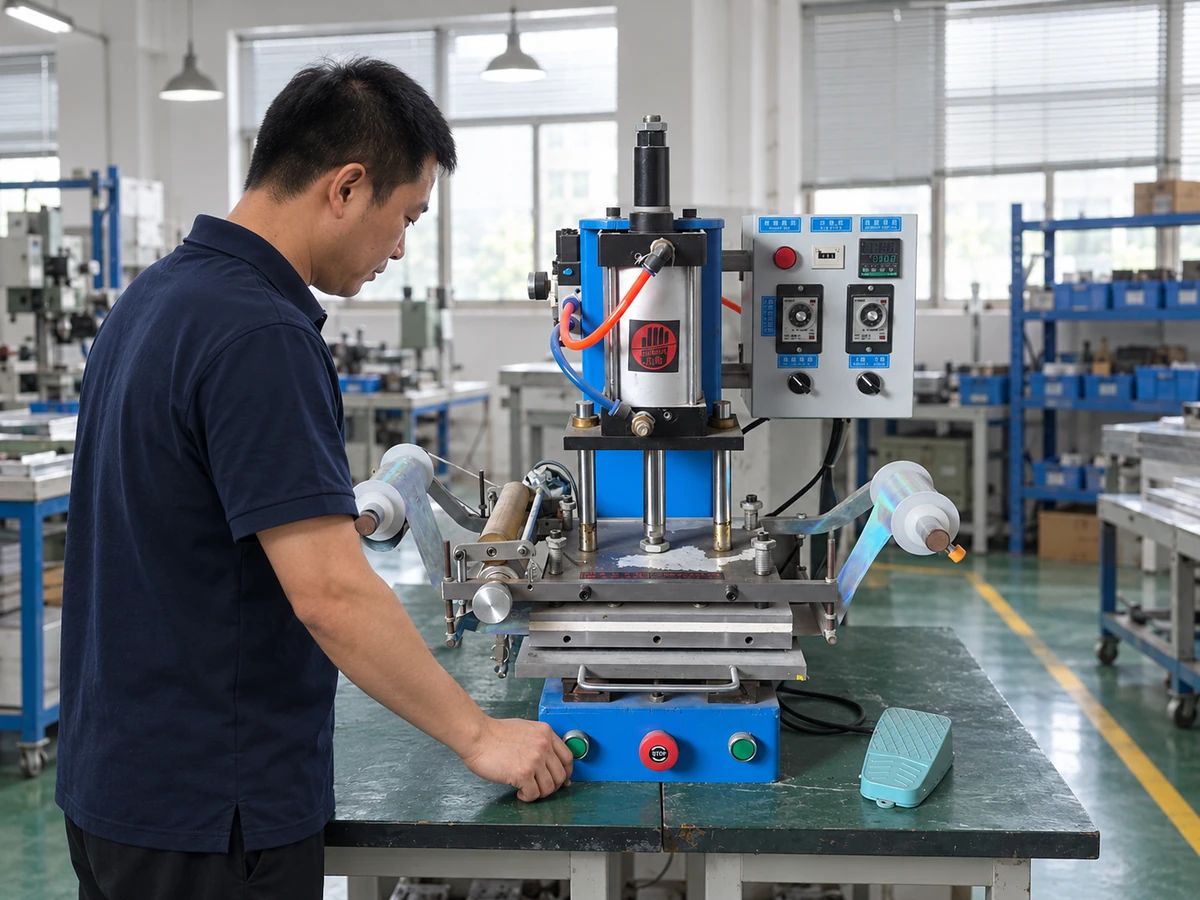
And people want different results. Some only want the gold on the surface, without a noticeable impression. Others prefer the design pressed into the paper, with a recessed impression they can feel.
So it’s not just a matter of “putting the gold on.” We still need test sheets to check that the foil has transferred completely and that the edges are clean. We also have to check whether the depth is what you want. A deeper impression and a shallower one look and feel different. We can’t simply use the settings from the previous job.
Getting the printing right doesn’t mean the foil stamping is ready too. Each process has its own preparation.
Both Sides Are Finished—But We Still Need to Bond and Cut Them
Now the text is printed on the back and the gold is stamped on the front. But your color core business card still isn’t finished.
This is when we line up the two finished outer sheets and the colored core sheet, then glue them together in the right order. While the glue is still wet, we put them in a flattening press. We press them flat and let the glue dry completely so the layers set in place. This helps prevent the edges from curling.
The bonded pieces are usually larger than your finished card size. We then make a cutting die to your final dimensions and die-cut the cards one at a time.
What you finally see is a thick card with gold foil on the front, printing on the back and a strip of color along the edge.
But before it becomes that one card, we have to print it, foil it, bond the three sheets together and cut it out. All the test prints and adjustments have already happened along the way.
We can’t skip those steps just because you only want one card.
That’s Why We Usually Recommend Starting with the Minimum Order
By now, it’s easier to see why one sample doesn’t come with the low cost you might expect.
Even for one card, the printing plate still has to be made, the foil die still has to be made, and the ink changes, machine setup and test prints still have to happen. A small batch needs that same preparation, but the work goes into a batch of cards rather than just one sample.
So once the design, paper and finishes are confirmed, we usually recommend starting with the minimum order. With the machines set up and everything looking the way it should, it makes more sense to put that preparation into a batch of cards you can actually use, rather than go through the whole process just to receive one sample.
Still weighing the cost? Read are luxury business cards worth it.
Ordering for a whole team? Here’s how we handle multi name business cards.