
Many companies and individual buyers think that because clear labels are made of transparent material, a label applied to a product, bottle, or package might have a no-label look. This is a big misconception. A label is a physical object; it cannot be applied without looking like a label.
No matter how transparent your bottle is, or how thin the clear label you buy is, the label will still be noticeable after you apply it. Anyone who says it will have no label look is wrong. At present, there is no way to make an applied label look as though it is not there. So there is no need to worry over this point.
Now let’s talk about some common problems when applying clear labels and how to deal with them.
Fingerprints from applying clear labels by hand
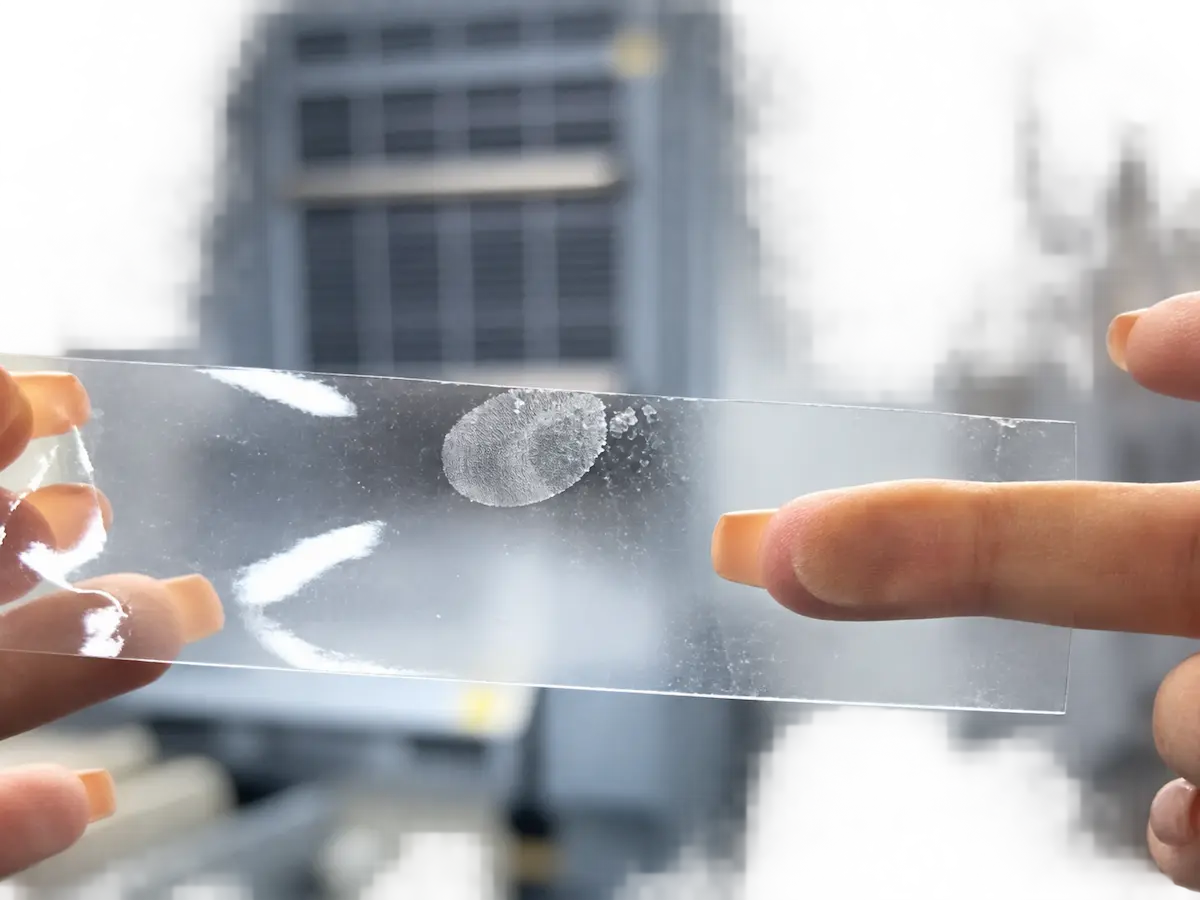
The first problem is fingerprints. Because of the nature of the material, when people apply clear labels by hand, their fingers may touch the adhesive on the back and leave fingerprints. Once the label is applied, those fingerprints can be clearly visible, which does not look good.
How do you deal with this? First, when buying labels, we suggest avoiding a large sheet, such as an A4 sheet, with many small labels on it. It is inconvenient to peel labels from a sheet that large. If each finished label is not very big, we suggest putting five or six, or four or five, labels on one sheet. The whole sheet should be no larger than your palm, making it easy to hold.
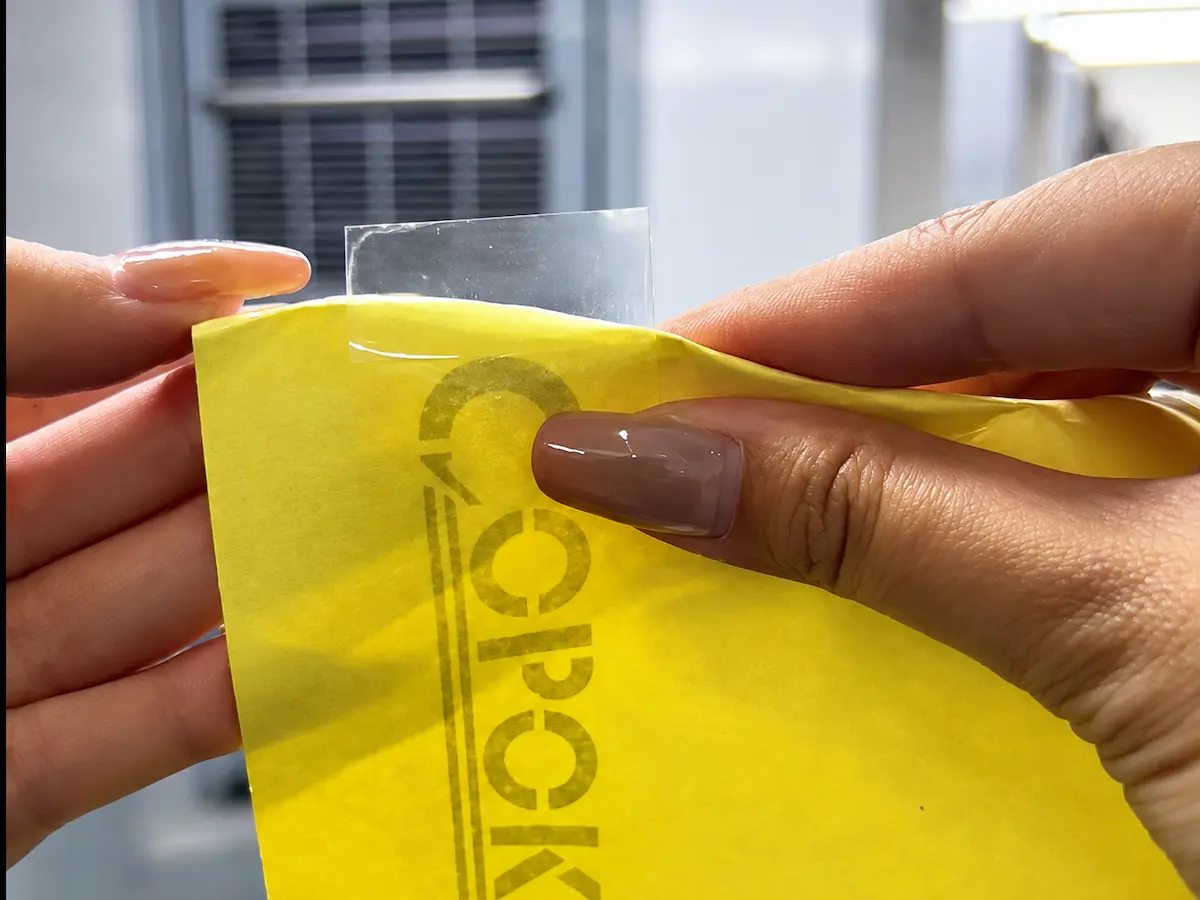
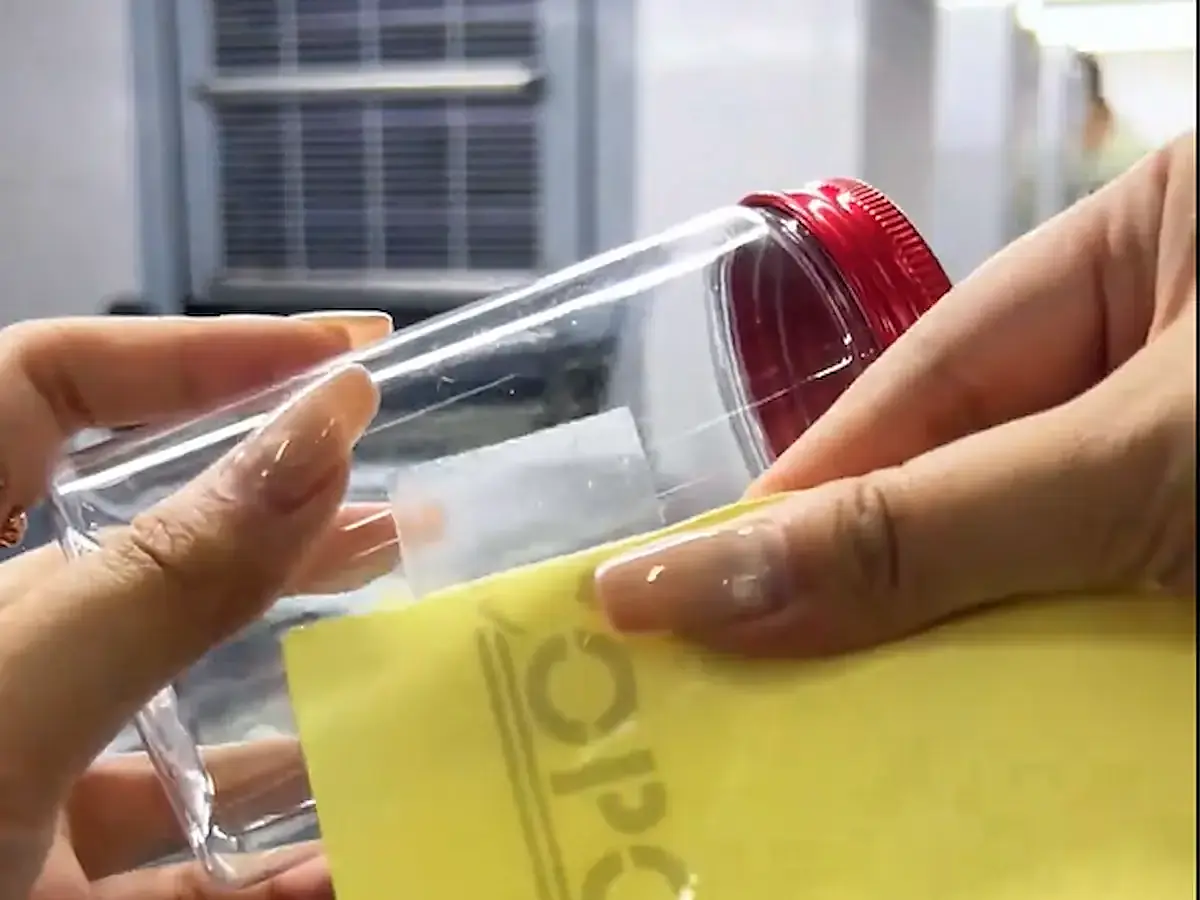
When applying a label, avoid touching the clear label itself. Bend the release liner underneath so that one end of the label lifts up. Apply that exposed end directly to the bottle or package, then peel away the release liner. This way, your fingers will not touch the adhesive on the back while you apply the label, and you can avoid leaving fingerprints on it.
Getting the air bubbles out
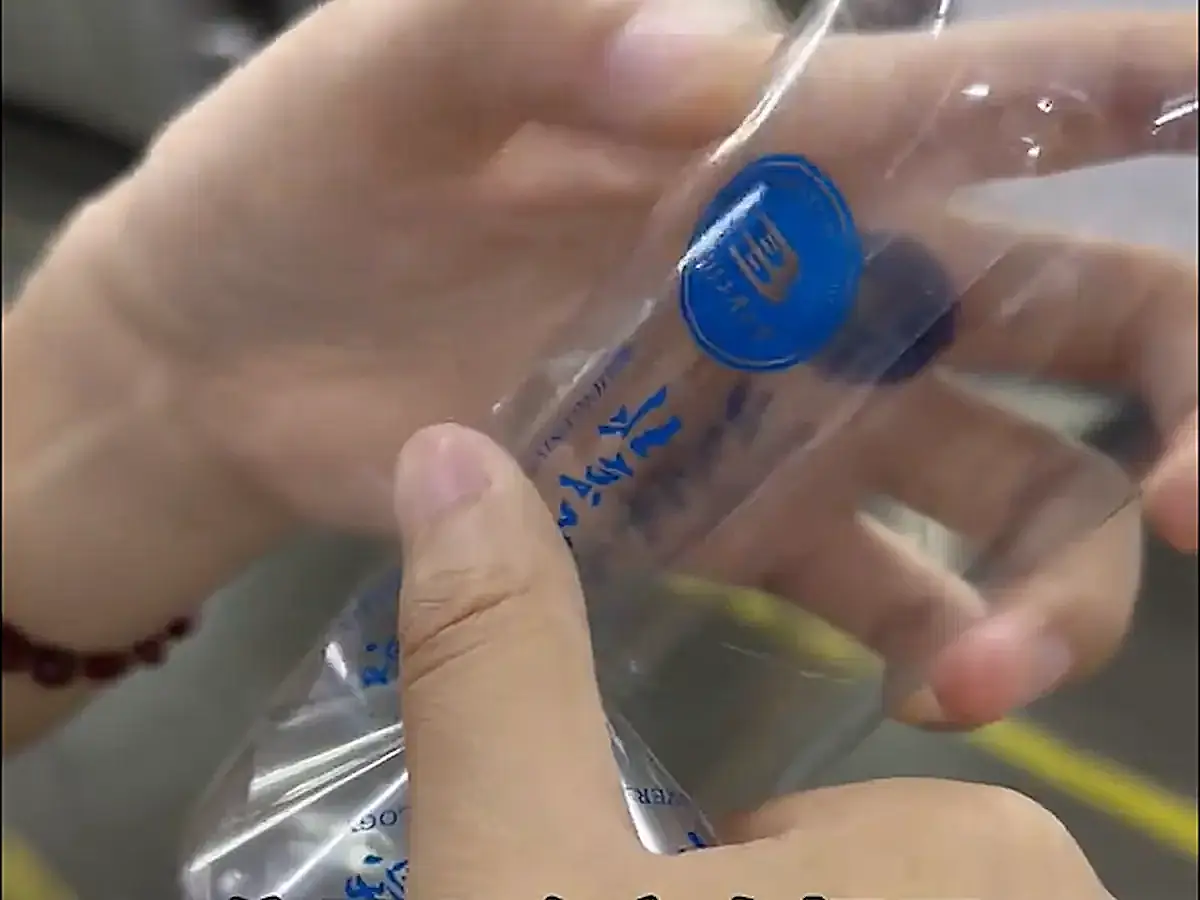
The second problem is air bubbles. The way to deal with them is simple. After applying the label, use your thumb to repeatedly slide and press on the label, starting in the middle and moving left, right, up, and down, to push the air out. You do not have to worry about wrinkling the label while doing this. Because of the nature of the material, it is different from a paper label, so go ahead and repeatedly press and slide with your finger. We also suggest not using a squeegee or a soft roller. They do not give you the same feel and pressure as pressing and sliding directly with your finger, making them harder to control and more troublesome. This way, you will not have air bubbles.
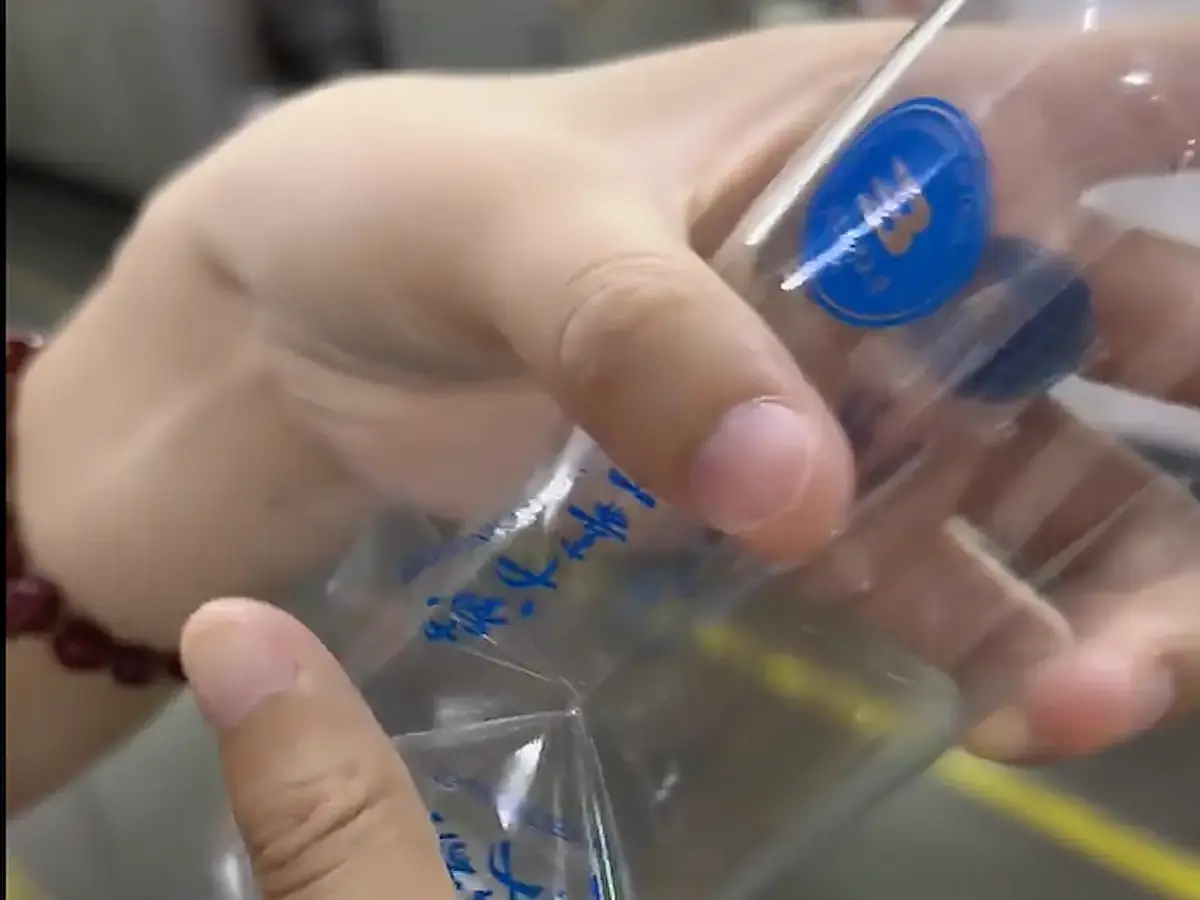
Faint adhesive marks on glass bottles
The third problem is also something buyers often ask about: “I’m applying the label to a glass bottle. After I apply it, I can see faint adhesive marks. How do I fix that?” To be honest, there is no way to eliminate them. Every adhesive has a standard it must meet; if it falls below that standard, the adhesive may not be up to standard. Although the adhesive is transparent, it cannot be completely invisible. Glass bottles also vary in transparency, so it is impossible for there to be no visible trace of adhesive after the label is applied. If a seller says you will not see even the slightest adhesive mark, I think that is also wrong.
Overall, this is not a major problem. You generally have to look closely to notice the difference. Your label has text and other content on it. When customers look at it, they usually will not pay much attention to the adhesive. After reading the text and product information, they generally will not examine the other details closely.
Another measure we use is gloss lamination, which we apply to all our clear labels by default. It can make the adhesive marks less noticeable. This only changes how noticeable they look; it cannot eliminate them.
About water resistance
The fourth problem is waterproofing. Clear labels themselves are made of PET and have slight water and oil resistance. Any claim that they have a very strong waterproof effect is wrong. So if your product is often in a very humid environment, or water frequently runs over its surface, we do not recommend using clear labels.
When the edges lift later
The fifth problem, which many buyers also care about, is edge lifting. Some customers apply labels to curved surfaces. If that is what you plan to do, be sure to tell the seller before buying. Try to use rounded corners as well. After a label is applied to a curved surface, the tension can cause its edges to lift over time. You may not see it at first, but the problem can become obvious later.
Also, the finished label should not be too small. A smaller label has less surface area to hold it in place, making edge lifting more likely, especially on a curved surface or over a seal. How can you reduce these problems as much as possible? We suggest using a 2.5-si clear label, about 25 μm thick. Also choose an oil-based adhesive, which has stronger adhesion, and make the four corners as rounded as possible. This can reduce edge lifting as much as possible, though it cannot prevent it completely.
Once you understand these issues, you should have a good idea of whether clear labels are suitable for your product. In the next article, we will focus on two topics that many people ask about: printing white ink and foil stamping.